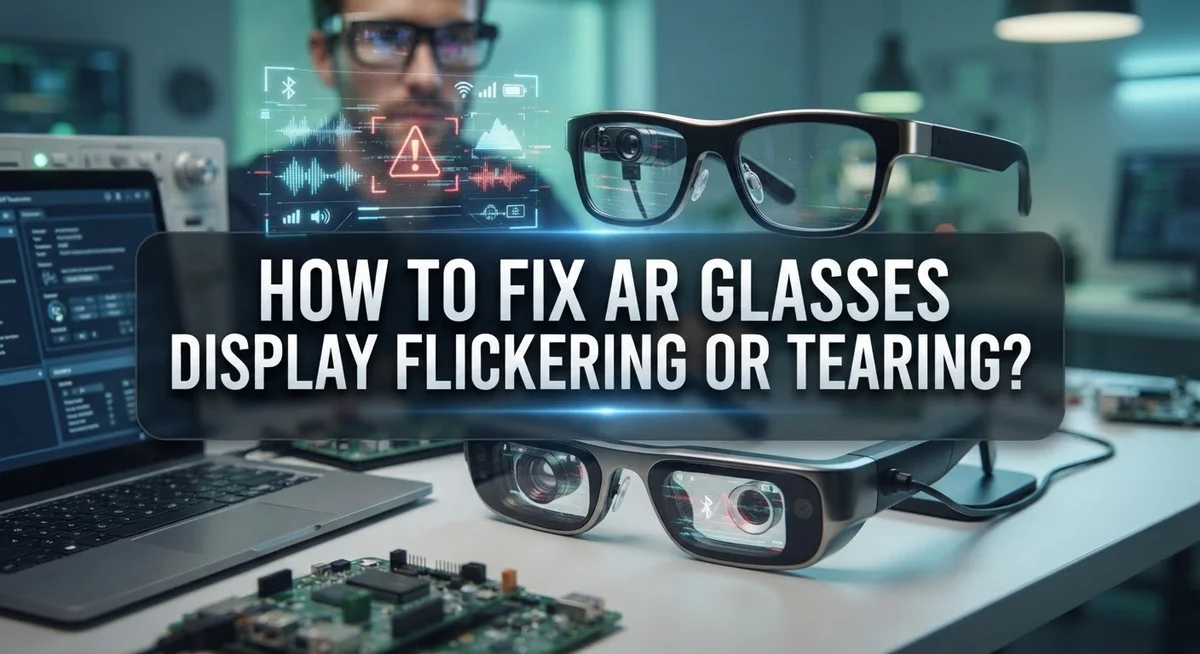
How To Fix AR Glasses Display Flickering Or Tearing?
AR glasses display flickering or tearing can be incredibly frustrating, especially when it interrupts your workflow or experience.
The good news? Most of these issues are not hardware failures. In fact, the majority of flickering and tearing problems come from software updates, weak battery power, or synchronization issues that are completely fixable.
Many users panic and assume their device is broken before even checking the simplest solutions. A quick reconnect of a cable or enabling V-Sync in settings can often resolve the issue in minutes.
This article walks you through exactly why AR glasses flicker or tear and what you can do to fix it. You will learn about the most common causes, from connection problems to disabled display settings.
In a Nutshell
Most AR glasses flickering is caused by software, not broken hardware. Always check recent updates first before assuming the worst.
A loose or faulty connection is one of the most common culprits. Simply disconnecting and reconnecting the magnetic cord can fix the issue instantly.
V-Sync settings matter more than you think. If V-Sync is disabled, your display will struggle to sync frames properly, causing visible tearing.
Battery power plays a big role. Weak or poorly synchronized batteries can cause unstable display output. Recharge or replace them before moving on to other fixes.
Dex mode and high graphics settings can both trigger flickering. Turning off Dex mode or lowering your graphics settings often stabilizes the display quickly.
Single-eye flickering is a separate issue. It may point to an asymmetric synchronization problem, which requires a different troubleshooting approach than full-screen tearing.
What Causes AR Glasses Display Flickering and Tearing?
AR glasses display flickering and tearing happen for specific reasons. Understanding these causes helps you fix the problem faster.
Software updates are the top culprit. Recent software versions sometimes introduce bugs that destabilize your display output. Your glasses may flicker right after an update, or the problem may appear days later as the software runs in the background.
Battery issues rank second. Weak batteries cannot deliver stable power to your display components. Poor synchronization between battery cells also causes flickering. Your glasses need consistent voltage to render frames smoothly.
Connection problems create a third major cause. Magnetic cords can loosen over time. Faulty cables interrupt data flow between your processor and display. Even a slightly disconnected cord causes visible tearing or flickering.
V-Sync settings directly affect frame stability. When V-Sync is disabled, your display refreshes at random intervals. This mismatch between GPU output and display refresh rate produces visible tearing. Frames tear across your screen because they do not sync properly.
Dex mode can trigger flickering in some devices. This mode runs extra processes that strain your display rendering. High graphics settings compound this problem by demanding more processing power.
Synchronization issues sometimes affect only one eye. This asymmetric problem indicates your display components are not communicating properly. One eye receives frame data at a different rate than the other.
Temperature fluctuations occasionally play a role. Overheated components perform poorly. Cold environments can also affect battery output and electronic performance.
The good news is most causes are fixable without hardware replacement. Start with software checks and connection tests before assuming your device needs repair.
How To Diagnose Whether the Issue Is Software or Hardware
Figuring out whether your AR glasses have a software or hardware problem takes a few simple steps. Start by checking what changed recently. Did you update your device software lately? Most flickering issues appear right after a software update, so this is your first clue.
Next, examine the physical connection. Look at the magnetic cord or cable connecting your glasses to the power source. Disconnect it completely, then reconnect it firmly. Wait 10 seconds and power on your device. If the flickering stops, you likely have a connection issue, not a hardware failure.
Check your battery status immediately. Open your settings menu and look for battery information. A battery below 20% often causes display problems. Try charging your device fully, then test the display again.
Now test your synchronization. Many AR glasses have an IR sensor that keeps both eye displays in sync. If one eye flickers but the other stays stable, you may have a synchronization problem rather than a hardware defect.
Disable Dex mode if your device has this feature. This mode sometimes triggers flickering in certain software versions. Turn it off in your settings and observe whether the issue stops.
Finally, try lowering your graphics settings. High graphics demand can cause tearing when your device cannot keep up. Reduce the graphics quality and see if the display stabilizes.
If flickering continues after all these steps, your issue is likely hardware related. But honestly, most people solve their problem during these checks. The key is testing software and connection fixes first before assuming your device is broken.
Step-by-Step: Quick Connection and Cable Fixes
Start by checking your magnetic cord connection. This cable transfers power and data to your AR glasses, and a loose connection causes flickering instantly. Disconnect the cord from both the glasses and the power source. Wait five seconds. Reconnect it firmly until you hear or feel a click. This simple step resolves display tearing for many users.
Next, inspect the cable itself for visible damage. Look for bent pins, frayed wires, or discolored sections. Gently flex the cable near both ends while the glasses are off. If you see sparks or smell burning plastic, stop immediately and replace the cable. Damaged cables create intermittent power delivery, which triggers flickering.
Recharge your battery fully before testing again. A weak battery cannot maintain stable power output to the display. Connect your glasses to the charger and wait until the indicator shows 100 percent. Low battery levels often cause frame stuttering that looks like tearing.
Now check your synchronization status. Navigate to your device settings and look for a synchronization or connection status menu. Verify that both eyes show equal signal strength. Asymmetric readings indicate a connection problem on one side.
If flickering persists, try disconnecting Dex mode if your model supports it. This mode uses extra processing power and sometimes causes display instability. Turn it off in your settings and test for improvement.
Finally, lower your graphics settings temporarily. High resolution or frame rate demands strain the connection. Reduce these settings to minimum, then gradually increase them. This helps you identify the exact threshold where flickering starts.
These connection and cable fixes address most display problems within minutes.
How To Fix Flickering Through Software and Settings Adjustments
Software and settings adjustments often fix flickering without any hardware changes. Start by checking your device’s software version. Open your settings menu and look for system updates. Install any pending updates immediately, as many flickering issues stem from outdated software that conflicts with your display driver.
Next, navigate to your display settings. Look for the refresh rate option and confirm it matches your device’s native specification. Many AR glasses operate at 60Hz or 90Hz. Setting it incorrectly causes visible tearing and stuttering.
Enable V-Sync in your graphics settings. This feature synchronizes your display output with your device’s refresh rate. When V-Sync is off, frames render independently and create that annoying tearing effect across your screen.
Check your power management settings. Some devices have a battery saver mode that reduces display performance to conserve energy. Disable this mode while troubleshooting. Your AR glasses need full power to maintain stable frame rendering.
Lower your graphics quality temporarily. High resolution settings or maximum frame rates can overwhelm your processor. Reduce these settings to medium levels and test your display. If flickering stops, you’ve found your culprit.
Restart your AR glasses completely. Power them off fully, wait 30 seconds, then power them back on. This simple step clears temporary software glitches that cause display problems.
Disable any overlay applications running in the background. Third party apps sometimes conflict with your display driver. Close unnecessary programs before using your AR glasses.
If flickering persists after these adjustments, the issue likely involves hardware rather than software. Document which settings you changed so you can provide this information if you need technical support later.
How To Resolve Display Tearing by Enabling V-Sync and Lowering Graphics Settings
V-Sync synchronizes your display refresh rate with your graphics output. When V-Sync is disabled, your screen displays frames at different rates, causing visible tearing lines across your view.
To enable V-Sync, open your AR glasses settings menu. Look for “Display” or “Graphics” options. Find the V-Sync toggle and switch it on. Your device will now match frame delivery to your display refresh cycle.
Lowering graphics settings reduces the processing load on your device. This prevents your GPU from working too hard and losing synchronization with your display. Start by reducing resolution or texture quality.
Access your graphics settings through the main menu. Look for options like “Resolution,” “Texture Quality,” or “Effects Level.” Decrease these one at a time. Test your display after each change to see if tearing stops.
Frame rate caps also help stabilize your visuals. Set a maximum frame rate that your device can maintain consistently. Many AR glasses perform best at 60Hz or 90Hz depending on your model.
Restart your glasses after making these changes. This ensures all settings apply correctly. Give your device a few minutes to run before judging results.
If tearing continues after enabling V-Sync and lowering graphics, the issue may involve your battery or synchronization. Check that your battery is fully charged. Low power can prevent V-Sync from functioning properly.
Monitor your display for at least 10 minutes during normal use. Tearing should disappear almost immediately once V-Sync activates. If problems persist despite these adjustments, your hardware may need inspection or replacement by a technician.
How To Address Battery and Power-Related Display Problems
Battery problems often cause display flickering and tearing in AR glasses. When your battery runs low, your device cannot maintain stable power delivery to the display components. This leads to inconsistent refresh rates and visible screen disturbances.
Start by checking your battery percentage. Most AR glasses show battery status in the settings menu or through a status indicator on the device itself. If your battery is below 20 percent, recharge it fully before testing your display again. Low power states reduce processing capability and create flickering.
Check your power management settings while your device charges. Some AR glasses have power saving modes that limit display performance. Disable these modes temporarily to see if flickering stops. Power saving features intentionally reduce visual quality to extend battery life.
Inspect your charging cable and connector ports carefully. Loose connections prevent proper power flow to internal components. Dirt or debris in the charging port blocks electrical contact. Gently clean the port with a dry cloth if needed. A poor charging connection means your battery never reaches full capacity, even after hours of charging.
Test your glasses on a fresh battery charge for at least 30 minutes. Monitor whether flickering decreases as your battery percentage stabilizes. If flickering only happens when battery is low, you have confirmed a power related issue.
Replace your battery if it no longer holds a charge after recharging multiple times. Batteries degrade over time and lose capacity. An aging battery cannot supply consistent power to your display system.
Document when flickering occurs during your battery cycle. This information helps identify whether power issues are the root cause of your display problems.
Common Mistakes To Avoid When Troubleshooting AR Display Issues
Many people jump to conclusions too quickly when their AR glasses flicker. The biggest mistake is assuming hardware failure before checking software updates. Recent software versions often introduce display problems that seem like broken equipment. Always check your update history first. Look at when flickering started compared to your last software installation.
Another common error is ignoring your IR sensor synchronization. This component keeps your display working smoothly. Don’t skip checking whether your device is properly synchronized with its sensors. You can usually find synchronization settings in your device menu under display or calibration options.
Battery status gets overlooked far too often. People assume their battery works fine without actually checking the percentage or testing a fresh charge. Low battery power directly causes flickering and tearing. Always verify your battery level before troubleshooting anything else.
Many users also skip the simple step of disconnecting and reconnecting their magnetic cord. This temporary fix resolves many display problems quickly. It takes 30 seconds but prevents unnecessary frustration.
Don’t disable V-Sync thinking it improves performance. Turning off V-Sync actually creates tearing in most AR glasses. Keep it enabled unless you have specific reasons otherwise.
Finally, avoid making multiple changes at once. Change one setting, wait a few minutes, and observe results. This approach helps you identify exactly what fixed your problem. If you change everything simultaneously, you won’t know which solution actually worked.
Taking time to follow these basic steps saves you from expensive repairs or replacements. Most flickering issues resolve through software adjustments, not hardware replacement.
When To Seek Further Technical Support or Repair
If you’ve tried basic fixes like enabling V-Sync, lowering graphics settings, and recharging your battery without success, it’s time to consider professional help. Persistent flickering after these steps often signals deeper hardware or software issues that need expert attention.
Contact the manufacturer’s support team if flickering started after a recent software update. They can confirm whether a known bug exists in your specific firmware version. Support staff can also guide you through advanced troubleshooting steps you might have missed. Keep records of when the flickering happens, which apps trigger it, and what fixes you’ve already attempted.
Visit an authorized repair center if your glasses show physical damage to cables, connectors, or the display itself. Physical damage requires professional replacement parts to restore proper function. Technicians can test your IR sensors and synchronization hardware in ways you cannot do at home.
Consider professional repair if your battery no longer charges properly even after multiple attempts. A faulty charging system needs component-level diagnosis that goes beyond home troubleshooting.
Document all your troubleshooting steps before seeking support. Write down the exact error messages you see, the time of day flickering occurs most often, and whether it affects one eye or both. This information helps technicians pinpoint the problem faster.
Don’t delay seeking help if flickering worsens or spreads to other display functions. Early intervention prevents minor issues from becoming permanent damage. Professional technicians have specialized tools and replacement parts that restore your AR glasses to working condition. Your investment deserves proper care from qualified experts when home fixes don’t resolve the issue.
Final Thoughts
AR glasses display flickering and tearing are frustrating problems, but most cases have simple solutions. The key takeaway is this: always check software and connections before assuming hardware failure.
Start with the basics. Reconnect your magnetic cord, enable V-Sync, and check your battery level. These three steps alone resolve the majority of flickering issues users experience.
Software updates are a leading cause of sudden display problems. If flickering started after a recent update, that connection is worth investigating first. Roll back or wait for a patch before spending money on repairs.
Single-eye flickering deserves special attention. This often points to asymmetric synchronization issues rather than a full hardware fault. Report this specific symptom clearly if you contact support.
Battery health matters more than most users realize. Weak or inconsistent power delivery directly disrupts display stability. Always test your glasses on a full charge before drawing conclusions.
Keep your troubleshooting steps documented. This record helps support teams diagnose your issue faster and more accurately. It also helps you avoid repeating the same steps twice.
Lowering your graphics settings is a practical short-term fix when other solutions haven’t fully stabilized your display. It reduces the processing load and gives your system room to recover.
Cord reconnection works as a temporary workaround, but it does not always fix the underlying cause. If the problem returns repeatedly, a deeper issue may exist.
Most flickering problems are software-related, power-related, or connection-related. These are all fixable without replacing your device. Stay patient, work through each fix methodically, and you will likely restore your display to full working condition.
Frequently Asked Questions
Is flickering always a hardware problem?
No. Most flickering comes from software issues, not hardware failure. Recent software updates often trigger display problems. Check if your glasses received an update recently. Battery issues and connection problems also cause flickering before any hardware damage occurs. Always test software and connection fixes first.
Why does my display flicker only in one eye?
Single eye flickering usually points to asymmetric synchronization issues. Your IR sensor may not be syncing both displays equally. Try reconnecting your magnetic cord. If that doesn’t help, check your IR sensor for dirt or obstructions. This problem rarely indicates hardware failure.
Can I fix flickering by changing my graphics settings?
Yes. Lowering your graphics settings reduces the strain on your display system. This works as a temporary solution while you investigate the root cause. Start by reducing resolution or frame rate in your settings menu. This stabilizes visuals and buys you time to troubleshoot deeper issues.
Does reconnecting the cord actually solve the problem?
Cord reconnection works as a temporary workaround for many users. It reestablishes your connection and can stop flickering immediately. However, it may not fix the underlying cause. If flickering returns after you reconnect, your battery, software, or synchronization needs attention. Document how often you need to reconnect.
What should I check before contacting support?
Check these items first: your battery level and charge status, recent software updates, whether V Sync is enabled, and your IR sensor cleanliness. Restart your glasses completely. Try lowering graphics settings. If flickering started after an update, note the update version. Write down exactly when the problem started and what you’ve already tried.

Hi, I’m Suzy — the voice behind RapidGenLab. I’m a tech enthusiast who loves breaking down complex products into simple, honest reviews and comparisons. Got a question? Feel free to reach out!