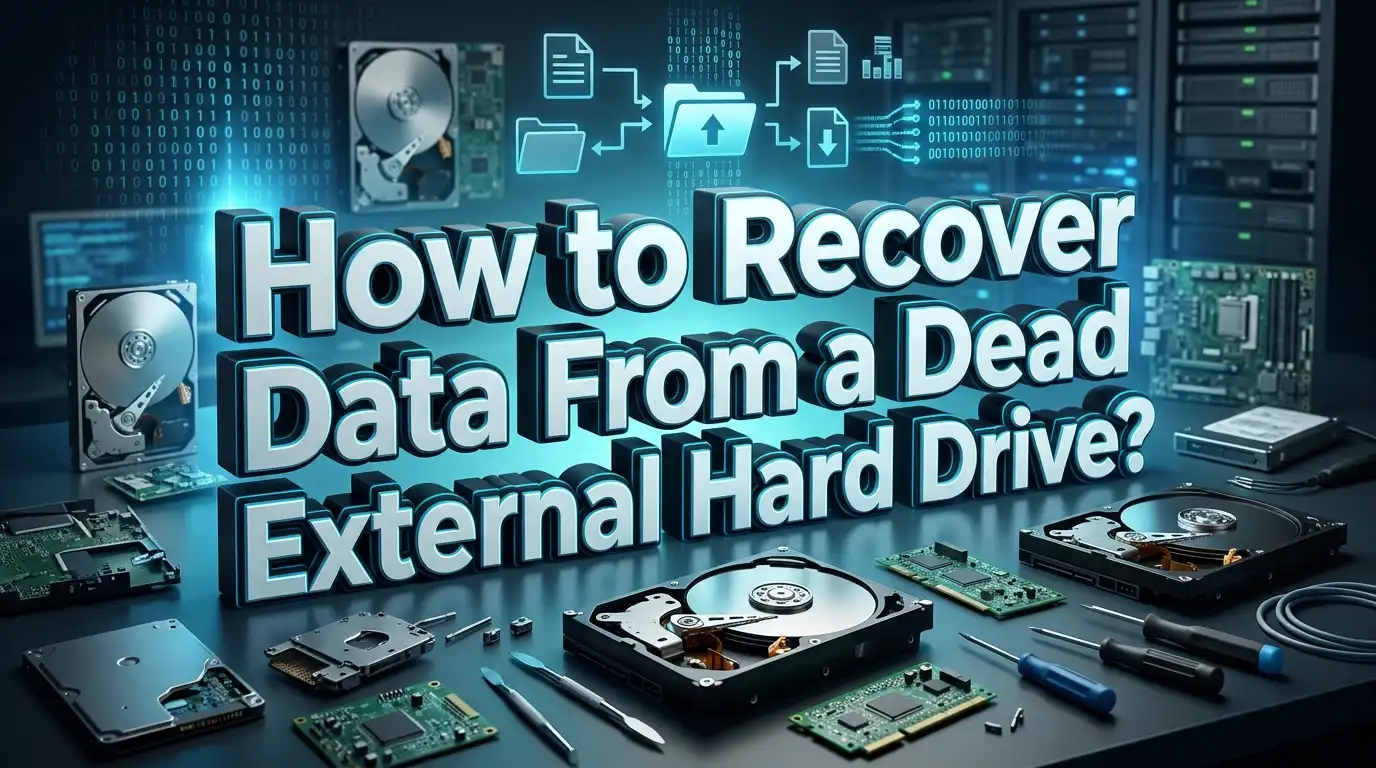
How to Recover Data From a Dead External Hard Drive?
Your external hard drive just stopped working. You plug it in, and nothing happens. No light, no spinning sound, no files. That sinking feeling in your stomach is all too familiar for millions of people who store important photos, work documents, and memories on portable drives.
In most cases, your files still exist on the platters inside the drive. The problem is usually the connection, the enclosure, the file system, or the drive’s electronics. Each of these problems has a different solution, and many of them cost nothing at all.
This guide walks you through every practical method to get your data back. You will learn how to identify the exact problem, choose the right recovery method, and avoid mistakes that could make things worse.
Key Takeaways
- A “dead” external hard drive can mean two different things. The drive may have logical damage (software or file system corruption) or physical damage (broken parts inside the drive). Logical damage is often fixable at home. Physical damage usually requires professional help.
- Your first step should always be to stop using the drive. Continued use of a failing drive can overwrite recoverable data or cause further mechanical damage. Unplug it and leave it powered off until you have a recovery plan.
- Swapping the enclosure is one of the easiest and cheapest fixes. Many “dead” external drives have a perfectly healthy disk inside a broken USB enclosure. A new enclosure or a USB to SATA adapter cable can restore access instantly.
- Data recovery software works only on drives that are still detected by your computer. Tools like Recuva, PhotoRec, and R Studio can recover deleted or corrupted files, but the drive must spin up and appear in your system for these tools to function.
- Never run CHKDSK or Disk Utility on a failing drive before cloning it. These repair tools write changes to the drive during the repair process. On a drive with bad sectors, this can overwrite the exact data you want to recover.
- Professional data recovery services can rescue data from drives with physical damage. Labs use specialized tools and controlled environments to perform head swaps, firmware repairs, and platter imaging that no consumer software can replicate.
What Does “Dead External Hard Drive” Actually Mean
The term “dead external hard drive” covers a wide range of problems. Understanding the type of failure helps you choose the right recovery method. A drive that makes clicking sounds needs a completely different approach than one that simply does not appear in your file manager.
Logical damage means the drive’s hardware is fine, but the software layer is broken. This includes corrupted file systems, failed formatting, accidental deletion, and malware infections like ransomware. The platters, read/write heads, motor, and circuit board all work correctly. The problem lives in the data structures that organize your files.
Physical damage means something inside the drive is mechanically or electronically broken. Common examples include failed read/write heads, a seized spindle motor, a cracked circuit board, or damaged platters. These problems prevent the drive from spinning up, being detected, or reading data correctly.
A third category sits between the two. Firmware corruption affects the microcode stored on the drive’s platters that tells the hardware how to operate. The drive may spin up but fail to identify itself to your computer. Consumer software cannot fix firmware issues because it operates above the firmware layer.
Common Signs Your External Hard Drive Has Failed
Recognizing the symptoms helps you act quickly and avoid making the damage worse. Each symptom points to a different root cause, and some symptoms demand that you power the drive off immediately.
A drive that makes clicking, clacking, or beeping sounds has a mechanical problem. The read/write heads are failing to load onto the platter surface. Every second of operation in this state risks scratching the platters and destroying data permanently. Unplug the drive right away if you hear these sounds.
A drive that spins up but does not appear in File Explorer or Finder may have a corrupted file system or a failed USB enclosure. This is often the most recoverable type of failure. The data is likely intact, and a new enclosure or recovery software can bring it back.
A drive that feels completely lifeless with no sound, no vibration, and no indicator light probably has a power issue. The USB cable, USB port, or enclosure electronics may have failed. The internal disk itself could be perfectly fine. A drive that appears in Disk Management but not in File Explorer usually just needs a drive letter assigned or has a partition table problem.
Slow performance, frequent freezes, and disappearing files are warning signs of a drive that is actively failing. Bad sectors are spreading across the platters, and the drive’s firmware is struggling to read data. Time is critical in this situation. Clone the drive as soon as possible before more sectors go bad.
Stop Using the Drive Immediately
This is the single most important step in the entire recovery process. Every minute a failing drive stays powered on reduces the amount of data you can recover. This applies to both logical and physical failures.
For logical damage, continued use means your operating system may write new data over the sectors where your deleted or corrupted files are stored. Once overwritten, those files are gone permanently. No software can recover data that has been physically replaced by new data.
For physical damage, the risks are even greater. A drive with failing read/write heads will drag those heads across the platter surface with every read attempt. This creates microscopic scoring on the magnetic layer that removes the data permanently. Five minutes of running a clicking drive can turn a $900 recovery into a $2,000 one, or make the data unrecoverable entirely.
Unplug the drive from your computer. Do not run disk repair tools. Do not try reformatting. Do not shake it or tap it. Place it on a stable surface and leave it alone until you have read through your options and chosen a recovery method. Patience at this stage saves data.
Check Your Cables, Ports, and Power Supply
Before assuming the worst, rule out the simplest explanations. A surprising number of “dead” drives are actually fine. The problem often lives in the cable, the USB port, or the power supply.
Try a different USB cable first. USB cables wear out, especially at the connector ends where they bend repeatedly. Use a cable you know works with another device. If your drive uses USB 3.0 (the blue connector), make sure you test with another USB 3.0 cable, not a USB 2.0 cable.
Switch to a different USB port on your computer. Front panel USB ports on desktop computers sometimes deliver less power than rear ports connected directly to the motherboard. Try a rear USB port for the most reliable connection. If you are using a USB hub, bypass it and connect the drive directly to the computer.
Some 3.5 inch external drives require a separate AC power adapter. Check that the power brick is plugged in, the LED is on, and the cable connection to the drive is secure. A dead power adapter is a common and cheap fix.
Try connecting the drive to a completely different computer. This rules out driver issues, operating system problems, or a failing USB controller on your original machine. If the drive works on another computer, the problem is with your system, not the drive.
Swap the External Drive Enclosure
This method solves one of the most common causes of external hard drive failure and costs very little. The plastic enclosure that houses your drive contains a small circuit board that converts SATA to USB. This board fails more often than the drive itself.
The fix is straightforward. Open the external drive enclosure by removing screws or gently prying apart the plastic shell. Inside, you will find a standard 2.5 inch or 3.5 inch SATA hard drive connected to a small USB bridge board. Disconnect the drive from the old enclosure.
You have two options. Buy a new external drive enclosure that matches your drive size (2.5 inch or 3.5 inch). Or use a USB to SATA adapter cable, which connects the bare drive directly to your computer without any enclosure at all. Both options are inexpensive and available at most electronics stores.
Slide the drive into the new enclosure or connect the adapter cable. Plug it into your computer. If the internal drive is healthy, it will appear in File Explorer or Finder just like before. Copy your files to another drive immediately.
This method works because the drive itself was never broken. Only the USB bridge electronics failed. Reddit communities and tech forums are full of success stories from people who recovered all their data this way for under $15.
Use Disk Management to Find Hidden Drives
Sometimes your external drive is detected by Windows but does not appear in File Explorer. Disk Management can reveal drives that are invisible to the rest of the system. This happens when the drive loses its drive letter or has an unrecognized partition format.
On Windows, right click the Start button and select Disk Management. Wait for the tool to load all connected drives. Look for your external drive in the list of disks at the bottom of the window. It may show up as “Unallocated,” “RAW,” or without a drive letter.
If the drive appears with an existing partition but no letter, right click the partition and select “Change Drive Letter and Paths.” Click Add and assign any available letter. The drive should now appear in File Explorer, and you can access your files.
If the drive shows as RAW, the file system is corrupted. Do not format the drive when Windows asks you to. Formatting will erase the data structures that recovery software needs. Instead, skip to the data recovery software method described later in this guide.
On Mac, open Disk Utility from Applications then Utilities. If your drive appears in the sidebar but is grayed out, select it and click Mount. If mounting fails, try the First Aid feature. First Aid checks and repairs file system errors without erasing your data.
Repair File System Errors With Built In Tools
Both Windows and Mac include free disk repair tools that can fix corrupted file systems. These tools work best on drives with minor logical damage. They are not safe for drives with physical symptoms like clicking or grinding sounds.
On Windows, open Terminal or Command Prompt as administrator. Type chkdsk X: /f and press Enter. Replace X with the drive letter assigned to your external drive. The /f flag tells CHKDSK to fix any file system errors it finds. If the drive has bad sectors, you can add the /r flag: chkdsk X: /f /r. This scans for bad sectors and attempts to recover readable data from them.
On Mac, open Disk Utility and select your external drive from the sidebar. Click First Aid and then click Run. Disk Utility will check the file system structure and repair any inconsistencies it finds. This process usually takes a few minutes.
Important warning: Only run these tools if your drive appears in the system and does not make unusual sounds. CHKDSK and First Aid write changes to the drive during the repair process. On a drive with spreading bad sectors, this writing can overwrite recoverable data and cause further damage. If you suspect physical problems, skip this step entirely and clone the drive first.
After a successful repair, your files may be accessible again. Copy everything to a healthy drive immediately. A drive that needed repair once will likely need it again soon.
Recover Files With Data Recovery Software
Data recovery software scans your drive at a deep level and reconstructs files from damaged or deleted file systems. This method works on drives that are physically healthy but logically damaged. The drive must spin up and be detected by your computer for software recovery to work.
Several free and paid tools can handle this job. PhotoRec is a free, open source tool that recovers files by scanning for known file signatures rather than relying on the file system. It works even on drives that show as RAW in Disk Management. Recuva offers a user friendly interface and works well for recently deleted files. R Studio provides advanced features for severely corrupted drives.
The basic process is the same across all tools. Install the software on a different drive than the one you are recovering from. Never install recovery software on the damaged drive itself. Launch the software and select your external drive as the scan target. Choose a deep scan or full scan option for the best results.
The scan may take several hours depending on drive size. When it finishes, browse the results and select the files you want to recover. Save the recovered files to a completely different drive. Saving them back to the damaged drive risks overwriting other recoverable data.
Recovery software has one key limitation. It reads data through your operating system’s storage layer. If the drive has physical problems like failing heads, each read attempt causes additional mechanical damage. Clone the drive first if you suspect any physical issues.
Clone the Drive Before Attempting Repairs
Cloning creates an exact sector by sector copy of your entire drive onto a healthy target drive. This is the safest approach for any drive that shows signs of physical degradation. You perform all recovery attempts on the clone and leave the original untouched.
The best tool for this job is GNU ddrescue, a free command line utility available in most Linux distributions. It reads in two passes. The first pass copies every sector that reads quickly and skips problem areas. The second pass goes back and retries the difficult sectors. This approach grabs the most data possible while putting the least stress on a failing drive.
To use ddrescue, boot into a Linux environment like SystemRescue from a USB drive. Connect both the source (failing) drive and a target drive of equal or larger capacity. Run the command ddrescue -f -n /dev/sdX /dev/sdY logfile.log for the first fast pass. Then run ddrescue -f -d -r1 /dev/sdX /dev/sdY logfile.log for the retry pass.
The target drive must be the same size or larger than the source. A smaller target truncates the clone and corrupts file system structures. The log file tracks progress, so you can stop and resume the process if needed.
After cloning, disconnect the source drive and work only with the clone. Run file system repair tools, recovery software, or any other analysis on the clone. If something goes wrong, the original remains untouched for a professional lab to work with.
Avoid Common Mistakes That Destroy Data
Several well intentioned actions can permanently destroy the data you are trying to save. Knowing what not to do is just as important as knowing what to do. These mistakes account for most avoidable data loss during home recovery attempts.
Never format the drive when Windows asks, “You need to format the disk in drive X: before you can use it.” Formatting creates a new, empty file system and overwrites the metadata that maps where your files are stored. Click Cancel every time you see this prompt.
Do not open the drive enclosure’s internal hard disk. The read/write heads inside a hard drive fly 1 to 5 nanometers above the platter surface. A single dust particle is thousands of times larger than this gap. Opening the drive in a normal room introduces particles that cause a head crash on the next power up. Professional labs use ultra filtered clean bench environments for this reason.
Avoid the “freezer trick.” This old internet myth suggests putting a dead drive in a freezer to temporarily revive it. Data recovery experts consistently warn against this. Condensation forms on the platters when the cold drive meets warm air, causing corrosion and additional damage. The freezer trick is far more likely to destroy your data than save it.
Do not repeatedly power cycle a clicking drive. Each attempt lets the damaged heads scrape across the platters, turning recoverable damage into permanent data loss. If a drive clicks on the first attempt, do not try again.
Know When to Call a Professional Data Recovery Service
Some failures are beyond the reach of home recovery methods. Physical damage, firmware corruption, and drives that are not detected at all require professional lab equipment. Recognizing this early saves both time and data.
You need professional help if your drive makes clicking, beeping, or grinding sounds. These indicate failed read/write heads or a seized motor. Labs perform head swaps using donor drives in particle controlled environments with ultra fine air filtration. They use specialized hardware like the PC 3000 to access firmware level data that consumer software cannot reach.
Drives that spin up but report zero capacity or appear as an unknown device likely have firmware corruption. The Service Area, a reserved region of the platters that stores the drive’s microcode, has become damaged. Labs use vendor specific diagnostic modes to rebuild these firmware structures and restore access to the data.
Professional recovery services typically work on a “no data, no fee” basis. You ship the drive to the lab. They evaluate it for free and provide a price estimate. Firmware level repairs generally cost $600 to $900. Head swap procedures cost $1,200 to $1,500 plus the cost of a matching donor drive. You only pay if they successfully recover your data.
Choose a lab with real equipment and verifiable reviews. Avoid services that quote extremely low flat rates, as these often lack the specialized tools needed for complex physical recoveries. Ask whether they use PC 3000 hardware and whether they perform work under filtered environments.
Protect Your Data With Regular Backups
The best data recovery strategy is one you never have to use. Regular backups eliminate the panic and expense of data recovery entirely. Building a simple backup habit takes minutes and saves hours of stress.
Follow the 3 2 1 backup rule. Keep three copies of your important data. Store them on two different types of media (for example, an external drive and cloud storage). Keep one copy offsite or in the cloud. This protects you against drive failure, theft, fire, and ransomware.
Windows includes File History, a built in backup tool that automatically saves copies of your files to an external drive. Mac has Time Machine, which creates hourly, daily, and weekly backups with no configuration needed. Both tools are free and run quietly in the background.
Cloud backup services provide offsite protection with automatic syncing. Your files upload continuously as you work, and you can restore them from any device. This protects against scenarios where both your computer and external drive fail at the same time.
Monitor your drive’s health using S.M.A.R.T. (Self Monitoring, Analysis, and Reporting Technology) data. Many free utilities can read S.M.A.R.T. attributes and warn you before a drive fails. Catching a failing drive early gives you time to copy your data before it becomes a recovery situation.
Handle Your External Drive With Care
Prevention costs nothing and saves everything. Simple handling habits extend your drive’s lifespan and reduce the risk of sudden failure. Mechanical hard drives are especially sensitive to physical abuse.
Always eject or safely remove your drive before unplugging it. Disconnecting a drive while it is writing data can corrupt the file system and create the exact logical damage that leads to a “dead” drive. On Windows, click the safely remove hardware icon in the system tray. On Mac, drag the drive icon to the Trash or right click and select Eject.
Keep your drive away from extreme heat. Most external hard drives are rated for operating temperatures up to 50 degrees Celsius. Leaving a drive in a hot car, in direct sunlight, or next to a heat source can cause permanent damage. Store it in a cool, dry place when not in use.
Transport your drive in a padded case or sleeve. The read/write heads in a mechanical drive are incredibly delicate. A drop from desk height can cause a head crash that destroys the drive instantly. Solid state external drives are much more resistant to shock, making them a better choice for frequent travel.
Never stack heavy objects on top of your drive. Avoid placing it near strong magnets or electromagnetic sources. These precautions sound basic, but they prevent the majority of accidental physical damage that sends people searching for recovery solutions.
Frequently Asked Questions
Can I recover data from an external hard drive that is not detected at all?
It depends on why the drive is not detected. If the problem is a failed USB enclosure, swapping the enclosure or using a USB to SATA adapter will restore detection. If the drive itself does not spin up or has firmware corruption, you will need professional data recovery services. Labs have hardware tools that communicate directly with the drive’s firmware and can often restore detection and recover data from drives that consumer software cannot see.
How much does professional data recovery cost for a dead external hard drive?
Costs vary based on the type of damage. Logical recovery using software typically ranges from free to a few hundred dollars. Firmware level repairs at a professional lab generally cost $600 to $900. Physical repairs involving head swaps typically cost $1,200 to $1,500, plus $50 to $400 for a matching donor drive. Most reputable labs offer free evaluations and operate on a no data, no fee policy, so you only pay if they successfully recover your files.
Is the freezer trick a real way to fix a dead hard drive?
No. Data recovery professionals strongly advise against this method. Placing a hard drive in a freezer causes condensation to form on the platters and internal components when the drive returns to room temperature. This moisture corrodes the magnetic layer and can cause electrical shorts on the circuit board. While some people report temporary success, the risks of permanent damage far outweigh any potential benefit. Use proper recovery methods instead.
How long does data recovery take from a dead external hard drive?
Software based recovery on a logically damaged drive usually takes a few hours depending on the drive’s size and the extent of corruption. Cloning a failing drive with ddrescue can take anywhere from 2 hours to several days if many sectors are slow or unreadable. Professional lab recovery typically takes 3 to 10 business days from the time the lab receives your drive. Rush services are available at most labs for an additional fee.
Can I recover data from an external hard drive that was dropped?
A dropped drive may have suffered head damage, platter scoring, or motor misalignment. If the drive still spins up and does not make clicking or grinding sounds, you may be able to clone it and recover data using software. If the drive clicks, beeps, or does not spin at all after being dropped, power it off immediately and send it to a professional data recovery lab. Continued use of a physically damaged drive causes more harm and reduces the chances of successful recovery.
Should I try to open my external hard drive to fix it myself?
No. The internal hard disk should never be opened outside of a particle controlled environment. Read/write heads fly just 1 to 5 nanometers above the platter surface. Dust particles, skin oils, and airborne contaminants are thousands of times larger than this gap. Opening the drive on a desk or table introduces particles that will cause a head crash on the next power up. Leave physical repairs to labs that have proper filtration equipment and donor drive inventories.

Hi, I’m Suzy — the voice behind RapidGenLab. I’m a tech enthusiast who loves breaking down complex products into simple, honest reviews and comparisons. Got a question? Feel free to reach out!