How to Fix Screen Burn-In on OLED Smartphones?
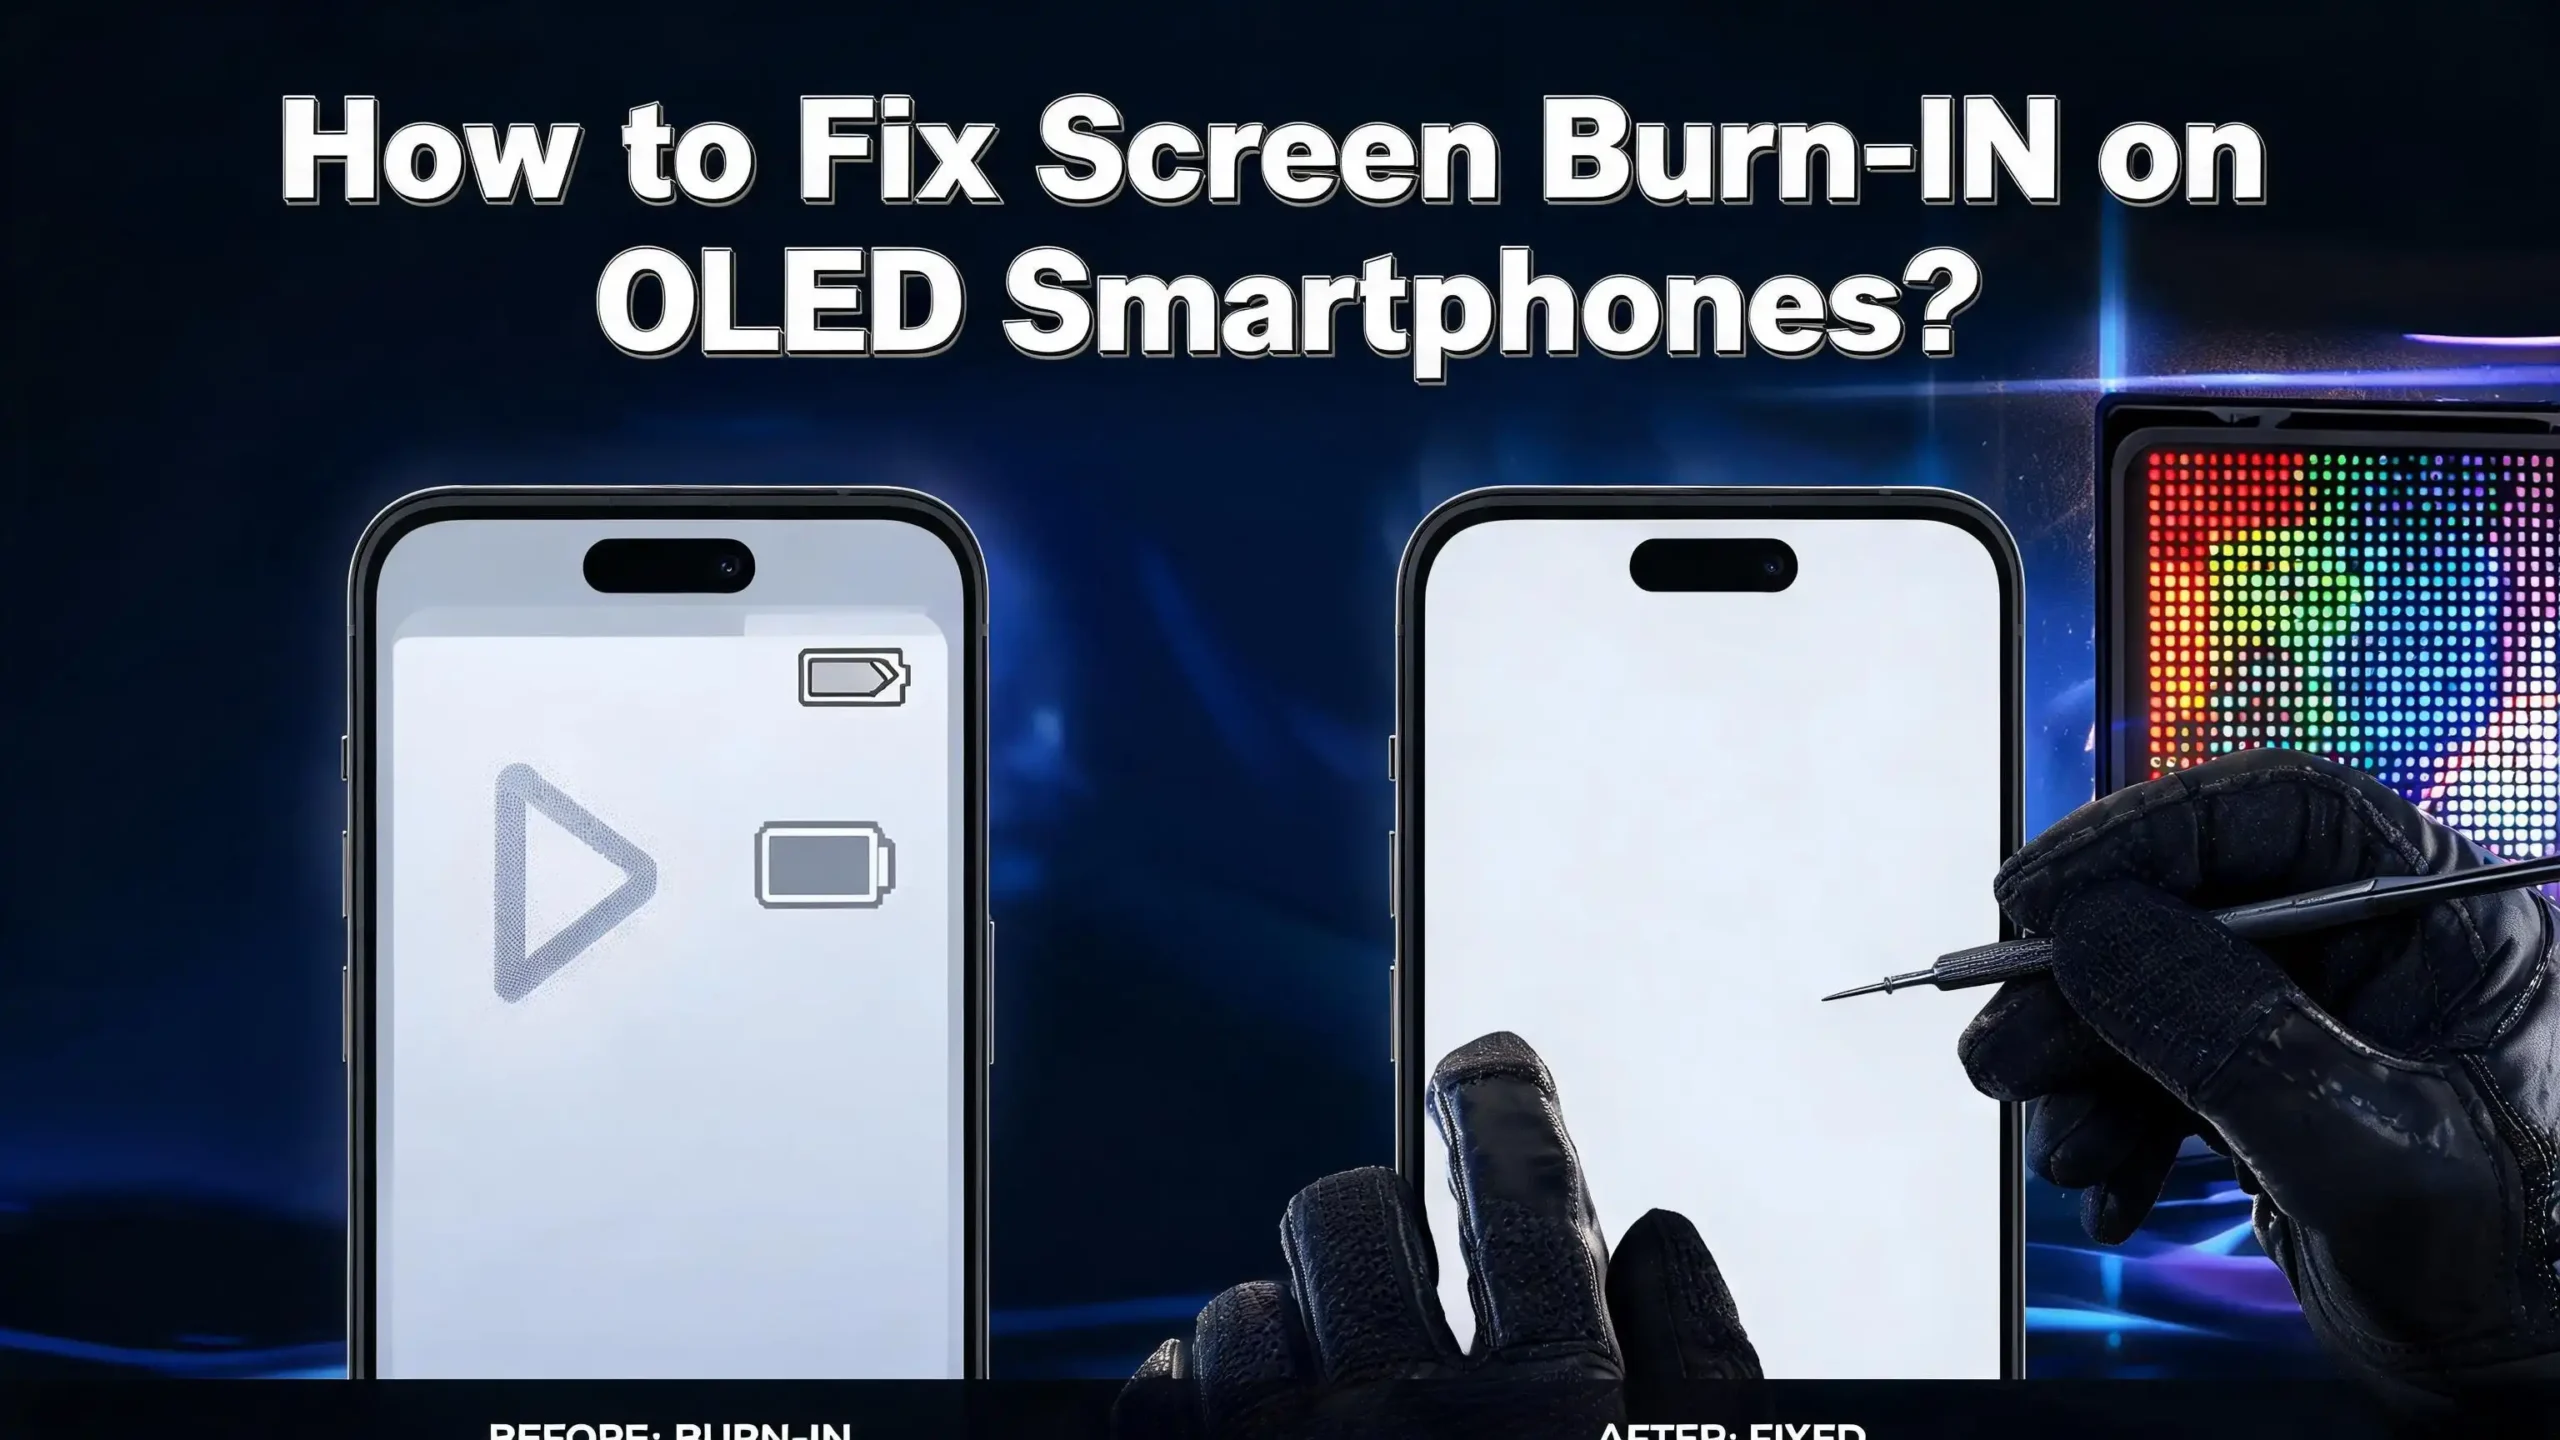
You pick up your phone, and something looks off. There is a faint ghost of an icon, a navigation bar shadow, or a keyboard outline permanently etched onto your screen. That is screen burn-in, and if you own an OLED smartphone, you are not alone in dealing with it.
Millions of Samsung Galaxy, iPhone, Google Pixel, and OnePlus users face this exact problem every year. The good news? While true burn-in is serious, many cases are actually just image retention, which is completely fixable. And even genuine burn-in can often be reduced to the point where it barely bothers you.
This guide walks you through every practical solution available, from quick software fixes to long-term habits that protect your screen for years to come. Whether your phone has a faint ghost image or a noticeable permanent mark, keep reading. You will find answers here.
Key Takeaways
- Screen burn-in and image retention are different things. Image retention is temporary and often fixes itself within minutes or hours after you power off the screen. True burn-in is permanent pixel degradation, but it can often be reduced with the right steps.
- OLED pixels degrade unevenly over time. When bright, static images sit on your screen for too long, some pixels wear out faster than others. This uneven wear creates the visible ghost images you see as burn-in.
- Software tools and pixel-cycling apps can reduce the visible effects of burn-in. Apps like “Fix Burn-in” and “Burn-in Fixer” on Google Play run color-cycling routines that help redistribute pixel stress and make the discoloration less noticeable.
- Your settings are your best weapon. Lowering screen brightness, enabling dark mode, reducing screen timeout, and turning off Always-On Display (AOD) are the most effective and immediate steps you can take right now.
- Prevention is far more powerful than any cure. Once true burn-in sets in, no app fully removes it. Changing your daily habits protects your screen from permanent damage in the first place.
- Screen replacement is the last resort. If all else fails, replacing the OLED panel restores your display completely. Always check your warranty first, as some manufacturers cover partial cases.
What Is Screen Burn-In on OLED Smartphones?
Screen burn-in is the appearance of a persistent ghost image on your smartphone display. It shows up as a faint outline of a previous image, icon, navigation bar, or keyboard that refuses to disappear even when you switch apps, change wallpapers, or turn the screen off.
This happens because OLED technology works differently from older LCD screens. In an OLED display, every single pixel generates its own light using an organic compound. There is no backlight. Each pixel turns on and off independently, which is exactly what gives OLED screens their stunning contrast and perfect blacks.
However, this self-illuminating design also means each pixel wears down on its own. When certain pixels stay lit at high brightness for long periods displaying a static image, they degrade faster than surrounding pixels. Over time, this uneven wear creates visible discoloration, which we call burn-in.
Common culprits include navigation bars, status bars, keyboard outlines, app icons, social media header bars, and the Always-On Display clock. Any element that sits in the exact same position for hours, days, or weeks at high brightness will eventually leave a mark. Understanding this mechanism is the first step toward fixing and preventing the problem.
Image Retention vs. True Burn-In: Know the Difference First
Before you panic and order a replacement screen, it is critical to figure out whether you are dealing with image retention or true burn-in. These two conditions look almost identical, but they have very different outcomes.
Image retention is a temporary condition. The ghost image appears after you have been using an app or displaying a static element for an extended session, but it fades away on its own. This usually disappears within a few minutes to a few hours after you change your content or power off your phone. Image retention does not cause permanent damage, and it is extremely common on OLED screens.
True burn-in, on the other hand, is permanent pixel degradation. The affected pixels have physically deteriorated and no longer emit light at the same level as surrounding pixels. Even after you turn off your phone and restart it, the ghost image remains. It does not improve on its own.
To test which you have, run a simple burn-in test. Open your browser on your phone and search for a “screen burn-in test video” on YouTube. These videos cycle through solid red, green, and blue screens. If you see a ghost image or discolored area on these solid screens, you have a real issue. If the screen looks perfectly clean, what you saw earlier was likely just temporary image retention, and it will resolve itself.
Always run this test before attempting any fixes. Knowing what you are dealing with saves you time and helps you choose the right solution.
Step 1: Power Off Your Phone Completely
This is the simplest fix and the one you should always try first. Powering off your OLED smartphone gives the pixels a complete rest. When the screen is off, no pixels are drawing power, no light is being produced, and the organic compounds inside the display have a chance to stabilize.
For temporary image retention, this step alone often solves the problem entirely. Turn off your phone, leave it off for 2 to 8 hours, and then turn it back on and check the screen using a solid-color background. Many users who think they have burn-in discover that the image disappears completely after an extended rest period.
Even for cases of mild burn-in, powering off your phone regularly can slow the progression of the damage. Make it a habit to fully shut down your phone at least once a week, particularly overnight. This gives your display a meaningful break from constant pixel stress.
Do not just put your phone on standby or sleep mode. A screen-off state while the phone is still running means the Always-On Display or notifications might still be activating pixels. A full power-down is the only way to guarantee complete pixel rest.
If the ghost image is gone after a full shutdown and restart, you had image retention. If it remains, move on to the next steps for more targeted fixes.
Step 2: Lower Your Screen Brightness Immediately
High brightness is one of the biggest accelerators of OLED burn-in. The brighter your screen runs, the harder each pixel works, and the faster it degrades. Reducing your brightness level is one of the most impactful changes you can make right now.
Go to your phone’s Settings > Display > Brightness and manually drag the slider down to 50% or lower. Turn off auto-brightness if it is set to frequently push your screen to peak brightness in well-lit environments. While auto-brightness is convenient, it often cranks your display to 80 to 100% outdoors, which accelerates pixel wear significantly.
Experts generally recommend keeping OLED smartphone brightness between 30% and 50% for everyday use. At this range, the picture still looks vivid and clear, but the pixels experience much less stress. You will not notice a major visual difference in most indoor environments, but your screen will thank you over time.
For already burned-in areas, lowering brightness helps in a subtle but meaningful way. It reduces the visibility of the discoloration because less light is passing through the damaged pixels, making the difference in brightness between burned and healthy pixels appear smaller. This will not fix the damage, but it makes the burn-in less noticeable during regular use while you work through other solutions.
Step 3: Run a Pixel-Cycling Burn-In Fix Video
One of the most popular and accessible methods for reducing burn-in visibility is running a pixel-cycling video. These videos are specifically designed to cycle through flashing colors rapidly, essentially working every pixel on your screen repeatedly in quick succession.
The theory is straightforward. Burned-in pixels are areas where certain pixels have been overused while others have been underused. By cycling all pixels rapidly through red, green, blue, white, and black in quick succession, these videos attempt to equalize the usage across your display and redistribute the wear pattern.
Here is how to do it:
Search YouTube for “OLED burn-in fix video” or “pixel refresh screen burn fix.” Look for videos that cycle through solid colors for at least 30 minutes. Play the video at full screen and at a moderate brightness level (around 50%). Let it run without interruption for the full duration. Repeat this process once or twice a day for a few days.
Do not use maximum brightness while running these videos. High brightness during pixel cycling can actually add more stress to already-degraded pixels. Moderate brightness gives the best results.
This method will not fully erase true burn-in, but it can make the discolored areas less visible. Many users report a 20 to 40 percent improvement in burn-in visibility after running these videos consistently for several days.
Step 4: Use a Dedicated Burn-In Fixer App
Several apps on the Google Play Store are built specifically to address OLED burn-in and image retention. These apps work similarly to pixel-cycling videos but give you more control and automation over the process.
Apps like “Fix Burn-in” and “Burn-in Fixer” run full-screen pixel refresh routines that cycle through color patterns designed to stimulate burned-in pixels and reduce discoloration. They also include dead pixel detection tools that can help you map out exactly where damage has occurred on your screen.
How to use a burn-in fixer app:
Download a reputable burn-in fixer app from the Google Play Store. Open the app and run the initial screen diagnostic to detect burned areas. Set the pixel refresh cycle to run for 30 to 60 minutes. Use the app at medium brightness, not maximum. Run the cycle daily for a week and monitor your progress.
Some apps also include a “screen jiggle” or pixel-shift function that moves UI elements slightly to reduce static pixel stress. This is particularly useful if your burn-in is related to a specific on-screen element like a navigation bar.
iPhone users note that iOS is a more closed system and has fewer third-party burn-in apps available. However, the same pixel-cycling technique can still be performed through YouTube videos on an iPhone with equally effective results.
Step 5: Enable Dark Mode Across Your Entire Phone
Dark mode is one of the single most effective tools for both fixing and preventing OLED burn-in. On OLED screens, black pixels are literally turned off. They produce no light and consume no power. This means dark mode dramatically reduces the stress placed on your pixels during everyday use.
Go to Settings > Display > Dark Mode and turn it on. Also enable dark mode within individual apps that support it, including your browser, messaging apps, email client, and social media apps. Many modern apps have their own dark mode toggle in their settings menu.
When your screen is mostly dark, the pixels showing bright UI elements are fewer and spread more evenly across the display. This significantly slows down uneven pixel wear, which is the root cause of burn-in.
For existing burn-in, dark mode helps in two ways. First, it reduces the visibility of ghost images because the contrast between burned and healthy pixels is less extreme in dark environments. Second, it prevents the burn-in from getting worse by reducing overall pixel stress. Switching to dark mode is a permanent, zero-cost fix that costs you nothing and provides immediate benefits.
Enable dark mode system-wide on Android through Settings > Display > Dark Theme, or on iPhone through Settings > Display and Brightness > Dark.
Step 6: Reduce Your Screen Timeout Setting
Screen timeout is one of the most underutilized settings for protecting an OLED display. If your phone’s screen stays on for 1 to 5 minutes of inactivity, static content like your home screen, a paused video, or a webpage is burning into your pixels every single time you set your phone down and walk away.
Go to Settings > Display > Screen Timeout and set it to 15 or 30 seconds. This may feel aggressive at first, but it makes a significant difference in protecting your display over time. The less time your screen sits idle displaying a static image, the less uneven pixel wear occurs.
For burn-in that has already happened, a shorter timeout reduces the daily amount of stress added to already-damaged pixels and stops the burn-in from spreading or deepening. It also prevents new burn-in patterns from forming in other areas of your screen.
On Android, you can find this setting under Settings > Display > Screen Timeout or Sleep. On iPhone, go to Settings > Display and Brightness > Auto-Lock. Set it to 30 seconds or 1 minute maximum. This simple change is one of the easiest wins you can achieve immediately.
Step 7: Turn Off Always-On Display (AOD)
The Always-On Display feature is a well-known major contributor to OLED burn-in on smartphones. AOD keeps a portion of your screen constantly lit, showing the time, notifications, or a custom clock face. While visually convenient, AOD means your screen never truly rests.
Several Reddit users have shared cases where iPhone 14 Pro and Samsung Galaxy S series devices developed burn-in specifically from the AOD clock and status bar after just 6 to 12 months of constant use. The damage was clearly visible as a faint outline of the clock face in that corner of the screen.
To turn off AOD on Samsung Galaxy: Go to Settings > Lock Screen > Always On Display and toggle it off. To turn off AOD on iPhone: Go to Settings > Display and Brightness > Always On and toggle it off. On Google Pixel: Go to Settings > Display > Lock Screen > Always Show Time and Info and disable it.
If you love AOD and do not want to turn it off entirely, consider enabling the “Tap to Show” or “Scheduled” option instead. This limits AOD activation to when you double-tap the screen or only during certain hours of the day, dramatically reducing the total screen-on time for AOD elements.
Disabling AOD is especially important if you already have burn-in, as keeping it on while trying to fix the damage defeats the purpose entirely.
Step 8: Enable Pixel Shift or Screen Movement Features
Many modern OLED smartphones include a built-in pixel shift or screen movement feature specifically designed to combat burn-in. This setting causes the entire display content to shift by a few pixels in different directions at regular intervals, preventing any single pixel from being overused in the exact same position for too long.
The movement is subtle enough that you will never notice it during regular use, but it makes a measurable difference in how evenly pixels wear over time. Samsung calls this feature “Reduce Animations,” while some other manufacturers label it as “Screen Protection” or “Pixel Shift.”
On Samsung Galaxy: Go to Settings > Accessibility > Visibility Enhancements > Remove Animations. On some Samsung models, you can also find Screen Burn-In Protection under Settings > Display > Screen Burn-In Protection. Toggle this on. On Google Pixel and OnePlus devices: Look in Settings > Display for any “Screen Protection” or “Screen Refresh” option.
While pixel shift will not reverse existing burn-in, it prevents the damage from spreading further and protects healthy pixels from developing new burn-in patterns. Think of it as a maintenance feature that keeps your screen aging evenly. Enable it immediately and leave it on permanently.
Step 9: Change Your Wallpaper and Use Pure Black Backgrounds
Your wallpaper choice directly affects your OLED screen health. Bright, high-contrast static wallpapers with large areas of solid white, red, or yellow keep pixels in specific positions working at full brightness whenever your screen wakes. Over time, this contributes to uneven pixel wear and accelerates burn-in.
Switch to a pure black wallpaper (#000000). On OLED screens, pure black means those pixels are completely off. A black wallpaper means nearly zero pixel stress when your home screen is displayed. This is one of the most effective single changes you can make to both reduce existing burn-in visibility and prevent future damage.
Avoid using the same wallpaper for months on end. Even a beautiful dynamic wallpaper with a bright sky or white tones keeps certain pixels running continuously. Change your wallpaper every few weeks, or use a wallpaper app that rotates images automatically.
On Android: Go to Settings > Wallpaper and choose a pure black image or search “OLED black wallpaper” to download one. On iPhone: Go to Settings > Wallpaper and select “Add New Wallpaper,” then choose a solid black image. Avoid using Live Wallpapers for long periods, as the looping animations can create subtle repetitive stress patterns on pixels.
Step 10: Use Gesture Navigation Instead of Navigation Buttons
On-screen navigation buttons are a leading cause of burn-in on Android smartphones. The back button, home button, and app switcher button sit in the exact same position at the bottom of your screen every single minute you use your phone. Over time, this creates a burn-in shadow in the navigation bar area.
Switching to gesture navigation removes these static buttons entirely. Instead of persistent on-screen icons, you use swipe gestures to go back, go home, or switch apps. This eliminates one of the most common burn-in zones on Android phones.
To enable gesture navigation on Android: Go to Settings > System > Gestures > System Navigation and select “Gesture Navigation.” On Samsung Galaxy: Go to Settings > Display > Navigation Bar and choose “Swipe Gestures.”
iPhone users already use a fully gesture-based navigation system, so this is not applicable. However, Android users who switch from button navigation to gesture navigation often see a significant reduction in navigation bar burn-in over time.
If you already have burn-in in the navigation bar area, switching to gesture navigation stops the damage from getting worse and helps any pixel-cycling treatments work more effectively on that region.
Step 11: Run the Built-In Screen Optimization or Pixel Refresh Tool
Many OLED smartphones include a built-in screen optimization or pixel refresh utility that recalibrates the display to reduce visible burn-in and image retention. This tool analyzes the wear levels across your screen and adjusts pixel brightness values to make the display look more uniform.
On Samsung Galaxy devices: Go to Settings > About Phone > Software Information > Screen Burn-In, or navigate to Settings > Device Care > Display > Screen Burn Optimization. Some Samsung models also offer this under the diagnostics menu by dialing #0#* on your phone app. On LG OLED smartphones: Navigate to Settings > Picture > OLED Panel Settings > Pixel Refresher.
This process typically takes 5 to 10 minutes and should be run with the phone connected to a charger. Do not use the phone during this process. The tool adjusts pixel compensation values system-wide to reduce the visible contrast between worn and healthy pixels.
Run this tool regularly, ideally once a month if you use your phone heavily. Think of it as a tune-up for your OLED display. It will not restore dead pixels, but it can make mild to moderate burn-in far less visible by evening out the brightness distribution across the screen. Many users report noticeable improvement after just one session.
Step 12: Reduce or Remove Static UI Elements
Beyond the navigation bar, your phone is full of static UI elements that sit in fixed positions for hours every day. The status bar at the top of your screen showing the time, battery, Wi-Fi signal, and carrier info is always there. App icons on your home screen rarely move. Social media apps often have a fixed header or bottom tab bar.
Each of these elements contributes to localized pixel wear. The pixels under your clock, battery icon, and carrier signal are working constantly. Over time, this creates subtle but visible burn-in in those specific areas.
Practical steps to reduce static UI burn-in:
Enable immersive mode on Android to auto-hide the status bar in full-screen apps. Use apps and games in full-screen mode when possible. Regularly rearrange your home screen icons so the same icons are not always in the same pixel positions. Use app folders to group icons and rotate which apps are on your main screen. Set social media apps to hide their tab bars during scrolling.
On Android, you can enable immersive mode globally using developer options. Go to Settings > About Phone, tap “Build Number” seven times to enable Developer Options, then go to Settings > Developer Options > Immersive Mode. This automatically hides the status and navigation bars in apps that support it, reducing pixel stress across the board.
Step 13: Consider a Professional Screen Replacement
If you have tried every software and settings fix and your burn-in is still highly visible and distracting, screen replacement is the most reliable final solution. Replacing the OLED panel gives you a brand new display with no burn-in, no dead pixels, and full brightness across every pixel.
Before paying for a replacement, always check your warranty first. While most manufacturers explicitly state that burn-in is not covered under standard warranty, some carriers and device protection plans do cover it. Samsung, Apple, and Google all offer extended protection plans through their respective insurance programs that may cover screen issues.
The cost of professional OLED screen replacement varies considerably. For flagship phones like the Samsung Galaxy S series or iPhone Pro models, screen replacement through official service centers typically costs between $150 and $350. Third-party repair shops may charge less, but using unofficial OLED panels can result in lower color accuracy and brightness.
Options for screen replacement include:
Using the manufacturer’s official repair service for genuine parts and warranty protection. Visiting a reputable third-party repair shop that uses high-quality replacement panels. Purchasing a DIY screen replacement kit if you are confident with phone repair, though this voids most warranties.
Do not attempt DIY screen replacement unless you have prior experience with phone hardware. OLED screens are delicate, and incorrect handling can damage the display connector, battery, or motherboard. For most users, an official repair center or trusted local shop is the safer and smarter choice.
Step 14: Prevention Habits to Protect Your OLED Screen Going Forward
Once you have addressed your current burn-in, building smart daily habits is the only way to keep it from coming back. The fixes in this guide are most effective when combined with long-term preventative behavior.
Think of your OLED screen like a high-performance car engine. With the right maintenance, it lasts far longer than neglected ones. Here are the most impactful habits to adopt starting today.
Keep brightness between 30 and 50 percent during normal use and only increase it when genuinely needed outdoors. Enable auto-brightness only if your phone’s sensor is calibrated well, and cap the maximum auto-brightness level if your settings allow it. Use dark mode in every app that supports it. Set your screen timeout to 15 to 30 seconds. Turn off Always-On Display or schedule it for limited hours. Rotate your wallpaper every few weeks and always use dark backgrounds when possible. Run your phone’s built-in screen optimization tool once a month. Power off your phone completely for a few hours at least once a week.
Also watch your usage patterns. Watching long videos on YouTube or streaming platforms at full brightness for hours every day is tough on OLED pixels. Reading apps and news apps with white backgrounds are particularly damaging. Switch these to dark or sepia modes to reduce pixel stress significantly.
These habits collectively make an enormous difference in the long-term health of your OLED display and can extend its visual quality by several years.
When Burn-In Is a Lost Cause and What to Accept
It is important to be honest: true, deep burn-in cannot be fully reversed. Once OLED organic compounds have degraded, no software, no app, and no video will restore them to their original state. The best any fix can do is reduce the visibility of the damage and prevent it from worsening.
If your burn-in is mild to moderate, the steps in this guide will make it far less noticeable in everyday use. Many users find that after running pixel-cycling routines, lowering brightness, and switching to dark mode, the burn-in becomes barely visible during normal phone use. It may still show up on solid bright backgrounds, but it stops being a daily annoyance.
If your burn-in is severe, covering large portions of the screen, or significantly affecting your ability to read text or view content, screen replacement is the honest answer. No software patch will fix a display where large pixel zones have permanently degraded.
Accepting the limitations of OLED technology is part of owning a premium display. These screens offer unmatched color accuracy, perfect black levels, and incredible energy efficiency, but they require more care than LCD screens. Knowing this, taking protective steps early, and addressing early-stage burn-in quickly will keep your display looking great for years.
Frequently Asked Questions
Can screen burn-in on an OLED phone be permanently fixed?
True burn-in caused by permanent pixel degradation cannot be fully reversed by software alone. However, the visibility of burn-in can often be significantly reduced using pixel-cycling apps, screen optimization tools, lower brightness settings, and dark mode. The only way to completely eliminate true burn-in is to replace the OLED screen panel.
How do I know if my OLED phone has burn-in or just image retention?
The easiest way to tell is to power off your phone completely for 2 to 4 hours, then turn it back on and display a solid-colored background or run a burn-in test video. If the ghost image has disappeared, you had image retention, which is temporary. If the ghost image remains, you have true burn-in that requires more active treatment.
Does dark mode actually help fix screen burn-in?
Dark mode does not reverse existing burn-in, but it reduces its visibility and prevents it from getting worse. On OLED screens, black pixels are completely turned off, meaning dark mode dramatically reduces pixel stress. For existing burn-in, dark mode makes the discoloration less noticeable during everyday use by reducing the overall brightness contrast on screen.
How long do burn-in fixer apps need to run before showing results?
Most burn-in fixer apps and pixel-cycling videos need to run for at least 30 to 60 minutes per session. For visible results, you should run them daily for 5 to 7 days. Some users report improvement within 2 to 3 days, while others see more gradual changes over 1 to 2 weeks. Run the sessions at moderate brightness (around 50%) for the safest and most effective results.
Does the Always-On Display feature cause burn-in?
Yes, Always-On Display is a well-documented contributor to OLED burn-in. Because AOD keeps a portion of your screen constantly lit with static content like a clock or notification icons, those specific pixels experience continuous stress. Many users have reported burn-in in the exact shape and position of their AOD clock. Turning off AOD or limiting it to scheduled hours significantly reduces this risk.
Is screen burn-in covered under warranty for most smartphones?
Most manufacturers, including Samsung, Apple, and Google, explicitly exclude burn-in from standard warranty coverage, as they classify it as user-induced damage. However, some extended protection plans and carrier insurance programs may cover screen replacement in cases of burn-in. Always check your specific warranty documentation and contact your manufacturer or carrier before paying for out-of-warranty repairs.
How much does it cost to replace an OLED screen on a smartphone?
The cost varies widely depending on your phone model and repair source. Official manufacturer repair centers typically charge between $150 and $350 for flagship OLED screen replacement. Third-party repair shops may charge less, often between $80 and $200, but the quality of replacement panels can vary. Always opt for genuine or high-quality replacement parts to maintain the original display performance.
Can I prevent burn-in entirely on an OLED smartphone?
You cannot guarantee 100% prevention forever, as OLED pixels naturally degrade over time with use. However, by keeping brightness low, using dark mode, setting a short screen timeout, disabling AOD, rotating your wallpaper, and running screen optimization monthly, you can significantly delay and minimize burn-in. Most heavy users who follow these habits report minimal or no visible burn-in even after 3 to 4 years of daily use.
Hi, I’m Suzy — the voice behind RapidGenLab. I’m a tech enthusiast who loves breaking down complex products into simple, honest reviews and comparisons. Got a question? Feel free to reach out!