Why Is My NVMe SSD Running Slow After a Firmware Update?
Firmware updates are supposed to improve SSD stability, fix bugs, and sometimes even boost performance. But sometimes they trigger a chain of side effects that quietly choke your drive’s speed.
A reset power setting here, a switched PCIe lane there, or a disabled write cache can make a blazing fast NVMe drive feel like an old spinning hard disk.
This guide breaks down every known cause of post-firmware slowdowns and walks you through each fix with clear, step-by-step instructions. Read every section because the answer to your specific problem could be hiding in any one of them.
Key Takeaways
- Firmware updates can silently reset critical Windows settings, such as write caching and power management, causing immediate and noticeable speed drops on any NVMe SSD.
- PCIe lane configuration is the most overlooked culprit. A BIOS update or firmware update can accidentally downgrade your drive from PCIe 4.0 x4 to PCIe 3.0 x2, cutting your maximum throughput by up to 75%.
- Thermal throttling spikes sharply after some firmware updates because the new firmware changes how the drive manages heat, causing the controller to slow down automatically when temperatures rise above safe limits.
- Outdated or incompatible storage controller drivers in Windows can prevent your NVMe drive from operating at full speed, even when the hardware is perfectly healthy and correctly connected.
- The TRIM function and garbage collection behavior can change with a new firmware version, leading to temporary or persistent slowdowns as the drive re-learns how to manage free space efficiently.
- Most post-firmware slowdowns are fully reversible with the right combination of driver updates, BIOS settings adjustments, power plan changes, and manufacturer tool scans, without needing to replace the drive.
Why Firmware Updates Sometimes Cause SSD Slowdowns?
Before jumping into fixes, it helps to understand why this happens at all. NVMe SSD firmware is the internal operating software that controls how your drive reads, writes, and manages data at a hardware level. When manufacturers push a firmware update, they often change garbage collection algorithms, power management behavior, error correction logic, and thermal throttling thresholds.
These changes are usually intended to improve stability and longevity. However, some of those changes can have unintended consequences in specific system configurations. A new garbage collection schedule might temporarily consume more drive resources. A revised power management policy might lock the drive into a low-power state more aggressively. A change in thermal management thresholds might cause the drive to throttle sooner than before.
The drive itself has not been damaged. The hardware is the same. But the instructions guiding that hardware have changed, and those new instructions might not interact perfectly with your specific BIOS version, Windows build, storage controller driver, or system cooling setup. Understanding this gives you a clear path forward: you need to find which specific interaction is causing the slowdown and fix it directly.
Step One: Run a Benchmark First to Confirm the Slowdown
Do not begin fixing something until you know exactly how slow your drive is running. Perception can be misleading. Before changing any settings, run a proper benchmark so you have real numbers to compare against.
Download CrystalDiskMark, which is a free and widely trusted disk benchmarking tool for Windows. Run the default test sequence on your NVMe drive and write down or screenshot the sequential read and write speeds, as well as the random 4K Q1T1 scores.
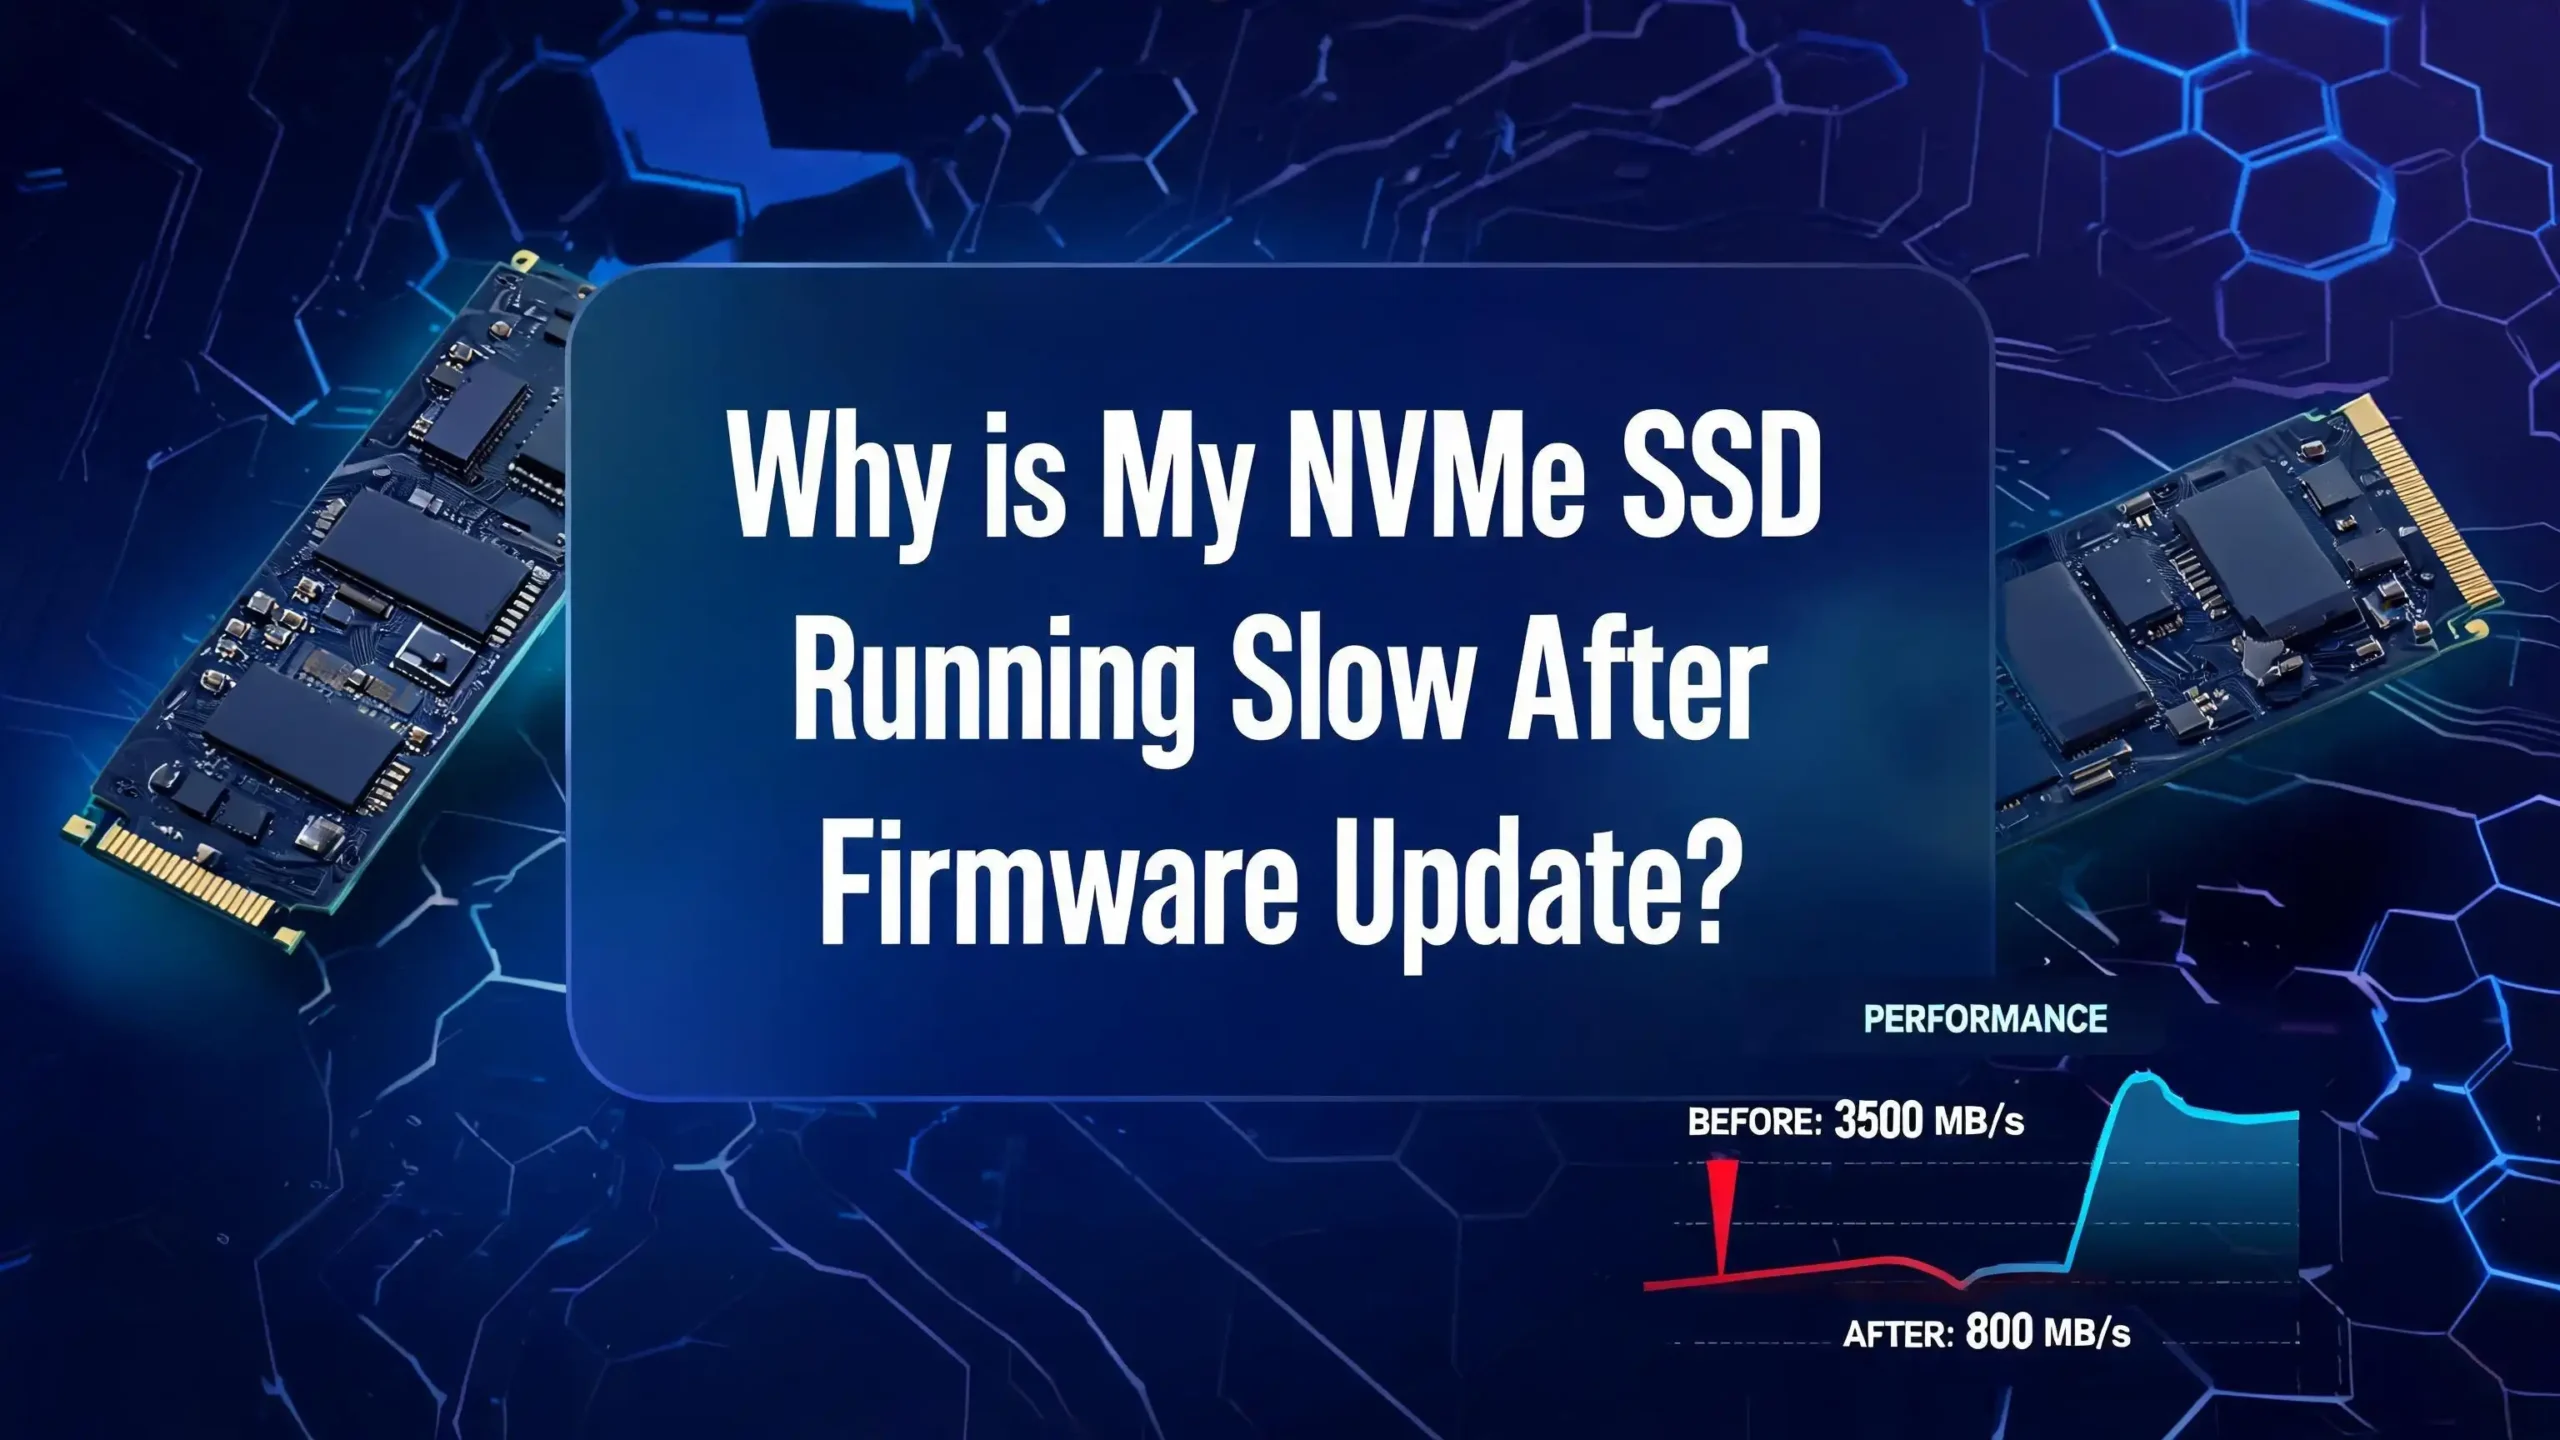
Compare those numbers to your drive’s official specifications. For example, a Samsung 990 Pro should deliver approximately 7,450 MB/s sequential read and 6,900 MB/s sequential write on a PCIe 4.0 system. If you are seeing numbers like 1,500 MB/s or 3,000 MB/s, something is clearly wrong. If your random 4K read scores are in the single-digit MB/s range, that points to a different problem than sequential speed. Having these numbers in hand before you start troubleshooting will tell you exactly which fix worked and by how much.
On Linux, you can use the fio or hdparm tools for similar results. On macOS, Blackmagic Disk Speed Test provides a quick visual overview of drive performance. Always benchmark first, fix second, and benchmark again to confirm the improvement.
Step Two: Check Your PCIe Lane Configuration in the BIOS
This is one of the most common causes of dramatic post-firmware slowdowns, and it is entirely fixable. When a BIOS or SSD firmware update runs, it can sometimes reset PCIe slot configurations to their default values, which may be a lower-bandwidth mode than what your drive requires.
A PCIe 4.0 NVMe drive running on a PCIe 3.0 x2 connection will only reach about 25% of its rated maximum sequential speed. The drive is healthy, but the data highway it is using is too narrow.
To check this, restart your computer and enter the BIOS setup by pressing Delete, F2, or F10 depending on your motherboard brand. Look for settings related to M.2 configuration, PCIe slot mode, or NVMe settings. Make sure your M.2 slot is set to PCIe 4.0 x4 if your motherboard and CPU support it. On AMD platforms, look for “M.2 PCIe Mode.” On Intel platforms, look for “PCI Express Configuration” settings.
Set the lane width to x4 and the generation to the highest your system supports. Save and exit the BIOS. Run your benchmark again. In many cases, this single change brings speeds back to their rated values completely. Also verify that no shared bandwidth settings are enabled, because some motherboards share PCIe lanes between the M.2 slot and another PCIe slot, which forces the drive into x2 mode when the other slot is occupied.
Step Three: Update Your NVMe Storage Controller Driver in Windows
Windows sometimes defaults to a generic Microsoft NVMe driver after a firmware update, especially if the update process triggered a device re-enumeration. The generic driver works, but it does not take full advantage of your specific drive’s capabilities. Using a manufacturer-specific or platform-specific NVMe driver often recovers a significant portion of lost performance.
To check and update your driver, open Device Manager by right-clicking the Start button. Expand “Disk drives” and find your NVMe drive. Right-click it and select “Update driver.” Choose to search automatically for updated drivers. Also check “Storage controllers” in the same Device Manager window and update the NVMe controller entry there.
For Intel platforms, download the Intel Rapid Storage Technology driver from Intel’s official support website. For AMD platforms, look for the AMD StoreMI or chipset driver package from AMD’s support page. For Samsung drives, the Samsung NVMe driver available through Samsung Magician is known to deliver better performance than the Windows default.
After installing any new driver, restart your system and run the benchmark again. The improvement in random read and write latency (visible in the Q1T1 4K scores in CrystalDiskMark) is often substantial after a proper driver switch. If Windows 11 25H2 is installed on your system, it ships with an updated native NVMe driver architecture called nvmedisk.sys that delivers significantly higher IOPS compared to the older stornvme.sys driver, so checking your Windows build is worth the effort.
Step Four: Fix Write Caching Settings in Windows
Write caching is a feature where Windows temporarily stores write data in the SSD’s fast onboard cache before committing it to flash storage. A firmware update can sometimes cause Windows to lose or reset the write caching setting for your drive, which makes write speeds drop dramatically because every write goes directly to slower flash storage.
To fix this, open Device Manager and expand “Disk drives.” Right-click your NVMe drive and select “Properties.” Click the “Policies” tab. You will see two options: “Quick removal (default)” and “Better performance.” Select “Better performance” and make sure the checkbox for “Enable write caching on the device” is checked. Click OK and restart.
The difference this makes on sequential write speed can be enormous. Some users report write speeds dropping from 5,000 MB/s to under 500 MB/s simply because write caching was disabled. After re-enabling it and restarting, those speeds returned immediately. Note that if you experience a sudden power loss with write caching enabled, data in the cache that has not yet been written to flash could theoretically be lost. For most desktop and laptop users, this risk is negligible and is worth the massive performance gain. If you are using a UPS or a laptop with a battery, this concern is minimal.
Step Five: Adjust Windows Power Management Settings
Windows power plans directly control how aggressively the operating system allows your NVMe drive to enter low-power sleep states. The NVMe specification includes several power states, and Windows can force the drive into a deep low-power state to save energy, which adds significant latency every time the drive needs to wake up to serve a read or write request.
After a firmware update, Windows may re-apply default power plan settings that are more aggressive about power saving. The result feels like stuttering, slow load times, or random pauses when accessing files.
To fix this, press Win + R, type powercfg.cpl, and press Enter. Switch to the “High Performance” or “Ultimate Performance” power plan. If you do not see “Ultimate Performance,” open an elevated Command Prompt and run: powercfg -duplicatescheme e9a42b02-d5df-448d-aa00-03f14749eb61
For more granular control, click “Change plan settings,” then “Change advanced power settings.” Scroll to “PCI Express” and expand “Link State Power Management.” Set this to “Off.” Also expand “Hard disk” and set “Turn off hard disk after” to “Never.” These changes tell Windows to keep the NVMe drive in an active, ready state at all times rather than parking it in a power-saving mode. The result is noticeably lower latency and snappier file access.
Step Six: Check for Thermal Throttling Using Monitoring Software
Thermal throttling is an automatic self-protection mechanism built into every NVMe SSD controller. When the drive temperature climbs above a certain threshold (typically around 70°C for most consumer drives), the controller reduces its operating speed to prevent heat damage. Some firmware updates change these temperature thresholds or alter how aggressively the drive responds to heat, which can cause more frequent or earlier throttling compared to before the update.
Download and install HWiNFO64, which is free and provides detailed real-time sensor data for your entire system including your NVMe drive. Run a benchmark with HWiNFO64 open in sensor view. Watch the NVMe temperature readings during the benchmark. If the temperature climbs above 70°C and your benchmark scores drop sharply in the middle of the test, thermal throttling is your problem.
Solutions include adding an M.2 heatsink, which many modern motherboards include as standard. These small metal heatsinks clamp directly onto the M.2 drive and dramatically improve heat dissipation. If your drive already has a heatsink, check that its thermal pad is making solid contact with the drive controller chip.
You can also improve case airflow by adding or reorienting fans to move air across the M.2 slots. For laptops, cleaning dust from vents and replacing dried thermal paste on the CPU can indirectly reduce overall chassis heat, giving the NVMe drive more thermal headroom.
Step Seven: Run the Manufacturer’s Official Diagnostic Tool
Every major NVMe SSD brand provides a free management and diagnostic tool that checks drive health, monitors temperatures, applies firmware updates, and sometimes offers a “performance optimization” or “over-provisioning” function. Using these tools after a firmware update is one of the fastest ways to identify and fix post-update issues.
For Samsung drives, use Samsung Magician. It shows the current firmware version, drive health, remaining lifespan, performance benchmark results, and lets you enable “Performance Optimization” which runs a more thorough TRIM cycle than Windows normally performs. For WD and SanDisk drives, use the WD Dashboard tool. Seagate and Barracuda drives have the SeaTools application. Crucial and Micron drives support the Crucial Storage Executive tool. Kingston drives use the Kingston SSD Manager. Corsair, SK Hynix, and other brands have their own equivalents.
Open your manufacturer’s tool and look for alerts, notifications, or recommended actions. If the tool shows that a newer firmware version is available, apply it, because sometimes a secondary firmware release fixes performance regressions introduced by a previous one. Also look for a “Diagnostic Scan” or “Short Test” option and run it to check if any specific NAND blocks or controller functions are flagged as degraded.
Step Eight: Enable and Verify TRIM Is Working Correctly
TRIM is the command that Windows sends to your SSD to mark deleted file blocks as empty and available for reuse. Without TRIM, the SSD has to perform extra cleanup work during writes, which slows everything down over time. Some firmware updates can disrupt how TRIM is processed, either by changing its scheduling or by temporarily disabling it if the drive is in a RAID or other special configuration.
To verify TRIM is enabled in Windows, open an elevated Command Prompt (right-click Start, click “Windows Terminal Admin” or “Command Prompt Admin”) and type: fsutil behavior query DisableDeleteNotify
If the result shows DisableDeleteNotify = 0, TRIM is enabled. If it shows DisableDeleteNotify = 1, TRIM is disabled. To re-enable it, type: fsutil behavior set DisableDeleteNotify 0
You can also manually run a TRIM optimization. Press Win + S, search for “Defragment and Optimize Drives,” open it, select your NVMe SSD, and click “Optimize.” This forces an immediate TRIM pass. After a firmware update, running a manual TRIM optimization often gives the SSD a chance to clean up its internal state, clear any write amplification buildup, and restore a significant portion of its lost write performance. Plan this for a time when you do not need the PC for 10 to 20 minutes, as the background optimization process can temporarily use drive resources.
Step Nine: Inspect the BIOS Version and Roll Back If Necessary
Sometimes the problem is not only with the SSD firmware but with a BIOS or UEFI firmware update that happened around the same time. A BIOS update can change NVMe compatibility settings, PCIe power delivery values, or memory controller timing, all of which can affect SSD performance indirectly.
Check your motherboard manufacturer’s website for release notes on your current BIOS version. Look specifically for mentions of “M.2 compatibility,” “NVMe support,” “PCIe configuration changes,” or “storage controller updates.” If the release notes describe changes to NVMe or PCIe behavior in the same update that caused your slowdown, you have found a likely culprit.
Most motherboard BIOS interfaces allow you to flash a previous version. This process is called a “BIOS rollback” or “BIOS downgrade.” Download the previous BIOS version from your motherboard manufacturer’s support page and follow their official flashing instructions carefully. Always use a properly formatted USB drive and follow the manufacturer’s instructions exactly during a BIOS flash, as an interrupted flash can render the motherboard unbootable. Some motherboards like ASUS, Gigabyte, and MSI models include dual-BIOS protection that makes this process safer.
After rolling back the BIOS, check if SSD performance is restored. If it is, you can report the regression to the motherboard manufacturer and wait for a corrected BIOS release before updating again.
Step Ten: Check Drive Capacity and Free Up Space
This is a step many people overlook because it seems unrelated to a firmware update, but the connection is real. NVMe SSDs use a portion of their free space as a working buffer for garbage collection and wear leveling. When a drive is more than 90% full, it struggles to find clean, empty cells during write operations, which causes write speeds to collapse.
A firmware update that changes garbage collection thresholds can make this issue more severe. A drive that performed fine at 85% capacity under the old firmware might suddenly struggle at the same capacity under the new one.
Check your drive’s used capacity through Windows Explorer or Disk Management. If your NVMe drive is over 80% full, plan to free up space. Move large files like videos, ISOs, game backups, or old project archives to an external drive or cloud storage. Uninstall programs you no longer use. Run Windows’ built-in Disk Cleanup tool or the Storage Sense feature to remove temporary files, old Windows Update files, and cache data.
As a general rule, keep at least 15% to 20% of your NVMe drive free at all times. For a 1 TB drive, that means keeping 150 to 200 GB free. This free space acts as a buffer zone that the SSD controller uses to maintain performance. After clearing significant space, run a benchmark and compare it to your earlier results.
Step Eleven: Consider Over-Provisioning for Long-Term Performance
Over-provisioning is the practice of reserving a set percentage of your NVMe SSD’s total capacity as permanently unused space. This reserved space is invisible to the operating system but gives the SSD controller extra room to perform background maintenance tasks like garbage collection and wear leveling without competing with active read and write operations.
Many enterprise NVMe drives come with 28% or more over-provisioning built in from the factory. Most consumer drives have very little, which means you can add more manually for a performance benefit, especially after a firmware update that changes garbage collection behavior.
You can set over-provisioning through your manufacturer’s management tool. In Samsung Magician, there is a dedicated “Over Provisioning” section where you set a percentage. WD Dashboard and Crucial Storage Executive have similar options. The recommended starting point for consumer use is 10%. This means that on a 1 TB drive, you would reserve 100 GB, leaving 900 GB available to Windows.
Over-provisioning does not just help write speeds. It also reduces write amplification, extends the drive’s total write endurance, and helps maintain consistent random write latency under heavy workloads. After setting over-provisioning, restart the system and run a fresh benchmark. You may see improvement in sustained write speed and random write IOPS, especially if your drive was exhibiting inconsistent performance spikes after the firmware update.
Step Twelve: Reinstall NVMe Drivers via a Clean Windows Setup (Last Resort)
If every previous step has failed to restore your NVMe drive’s performance, the issue may be rooted in a deeper driver conflict or a corrupted storage stack in Windows. Sometimes an SSD firmware update triggers a series of driver conflicts that accumulate until the drive behaves erratically or slowly, and a clean Windows installation is the most reliable way to resolve this.
Before taking this step, back up all your important data to an external drive or cloud storage. A clean Windows installation erases all data on the target drive. Download the latest Windows 11 installation media from Microsoft’s official website using the Media Creation Tool. Create a bootable USB drive. Boot from the USB, choose “Custom Install,” delete the existing partitions on your NVMe drive, and install Windows fresh.
After installation, go to Windows Update and install all available updates. Download your motherboard chipset drivers first, then your GPU drivers, then your NVMe manufacturer’s management tool and driver. Do not install any third-party optimization or “cleaner” software. Run a benchmark after the clean install. In virtually all cases where hardware is healthy, a clean install on a properly configured system will restore the NVMe drive to full rated speeds.
This step is time-consuming but it is also the most comprehensive solution to driver stack corruption, which can persist even through driver uninstall and reinstall cycles without a clean system foundation.
Step Thirteen: Monitor Drive Health and Plan for Replacement If Needed
Sometimes a firmware update exposes an underlying problem that was already developing before the update. NAND flash cells have a finite number of write cycles, and if your drive was already approaching the end of its rated endurance, a firmware change in garbage collection behavior might be enough to make the degradation visible.
Open CrystalDiskInfo, which is a free drive health monitoring tool. It reads S.M.A.R.T. data from your NVMe drive and presents it in a readable format. Look at the following key attributes: “Percentage Used” (the amount of rated endurance consumed), “Available Spare” (the percentage of spare NAND blocks remaining), and “Data Units Written” (the total amount of data written to the drive over its lifetime).
Also look at the “Health Status” shown at the top of the CrystalDiskInfo window. A “Good” status with green text means the drive is healthy. A “Caution” status in yellow means one or more S.M.A.R.T. values are outside normal ranges. A “Bad” status in red is a serious warning that data loss may be imminent.
If “Available Spare” is below 10% or “Percentage Used” is at or above 100%, your drive may be entering its final wear phase. Performance degradation in this condition is expected and cannot be fully reversed by any software fix. Begin planning for a drive replacement and prioritize backing up your data immediately. For drives that are still healthy according to S.M.A.R.T. data, the performance issues are almost certainly caused by one of the configuration problems covered earlier in this guide.
Frequently Asked Questions
Will reverting the firmware fix my NVMe SSD speed?
Reverting SSD firmware is generally not recommended by manufacturers and is not supported by most consumer-grade management tools. However, if the speed drop was directly caused by a specific firmware release that the manufacturer has acknowledged as problematic, watch for a corrected firmware release. Samsung, WD, and Seagate have all issued follow-up patches to correct performance regressions in previous firmware releases. Use your manufacturer’s management tool to check for the latest available firmware version.
How do I know if my NVMe SSD is being thermal throttled?
The most reliable way is to use HWiNFO64 or your manufacturer’s management tool while running a sustained benchmark. Watch the drive temperature in real time. If the temperature climbs above 70°C and the benchmark write speeds drop sharply partway through the test (for example from 5,000 MB/s down to 1,500 MB/s), the drive is throttling itself for thermal protection. Installing an M.2 heatsink will resolve this in most cases.
Does a firmware update wipe data from my NVMe SSD?
In most cases, a properly executed NVMe firmware update does not erase user data. The update rewrites the drive’s internal controller firmware only. However, it is always strongly recommended to back up all important data before performing any firmware update, because any update process carries a small risk of failure, and a failed firmware flash can render the drive inaccessible.
Why is my NVMe SSD showing PCIe 3.0 speeds instead of PCIe 4.0?
This almost always means the drive is physically installed in a PCIe 3.0 slot, or a BIOS setting has changed the slot’s operating mode to PCIe 3.0. After a BIOS update, these settings sometimes reset to their defaults. Enter the BIOS and look for M.2 PCIe configuration settings. Set the mode to PCIe 4.0 x4. Also make sure your CPU and motherboard actually support PCIe 4.0, because not all platforms do. Intel 10th Gen and AMD Ryzen 3000 series were the first mainstream consumer platforms to widely support PCIe 4.0 on M.2 slots.
How often should I update my NVMe SSD firmware?
Update your SSD firmware when the manufacturer releases a version that specifically addresses a problem you are experiencing, such as a known compatibility issue, data integrity bug, or documented performance regression. You do not need to update firmware just because a new version exists. If your drive is working well, is stable, and delivers expected performance, the risk of updating may outweigh the benefit. Always read the release notes before applying any firmware update.
Can I improve NVMe SSD performance without reinstalling Windows?
Yes, absolutely. In the majority of post-firmware slowdown cases, adjusting write caching settings, updating the storage controller driver, switching to the High Performance power plan, verifying TRIM is active, and confirming the correct PCIe lane configuration in the BIOS are enough to fully restore performance without reinstalling Windows. A clean reinstall is only necessary in rare cases where driver corruption is too deep to fix through Device Manager alone.
What is the ideal free space to maintain on an NVMe SSD for best performance?
Keep at least 15% to 20% of total drive capacity free at all times. For a 512 GB drive, that means keeping roughly 75 to 100 GB free. For a 1 TB drive, aim for 150 to 200 GB free. This free space allows the SSD controller to perform garbage collection, wear leveling, and other background maintenance tasks efficiently, which directly maintains sustained write performance at or near the drive’s rated speeds.
Hi, I’m Suzy — the voice behind RapidGenLab. I’m a tech enthusiast who loves breaking down complex products into simple, honest reviews and comparisons. Got a question? Feel free to reach out!