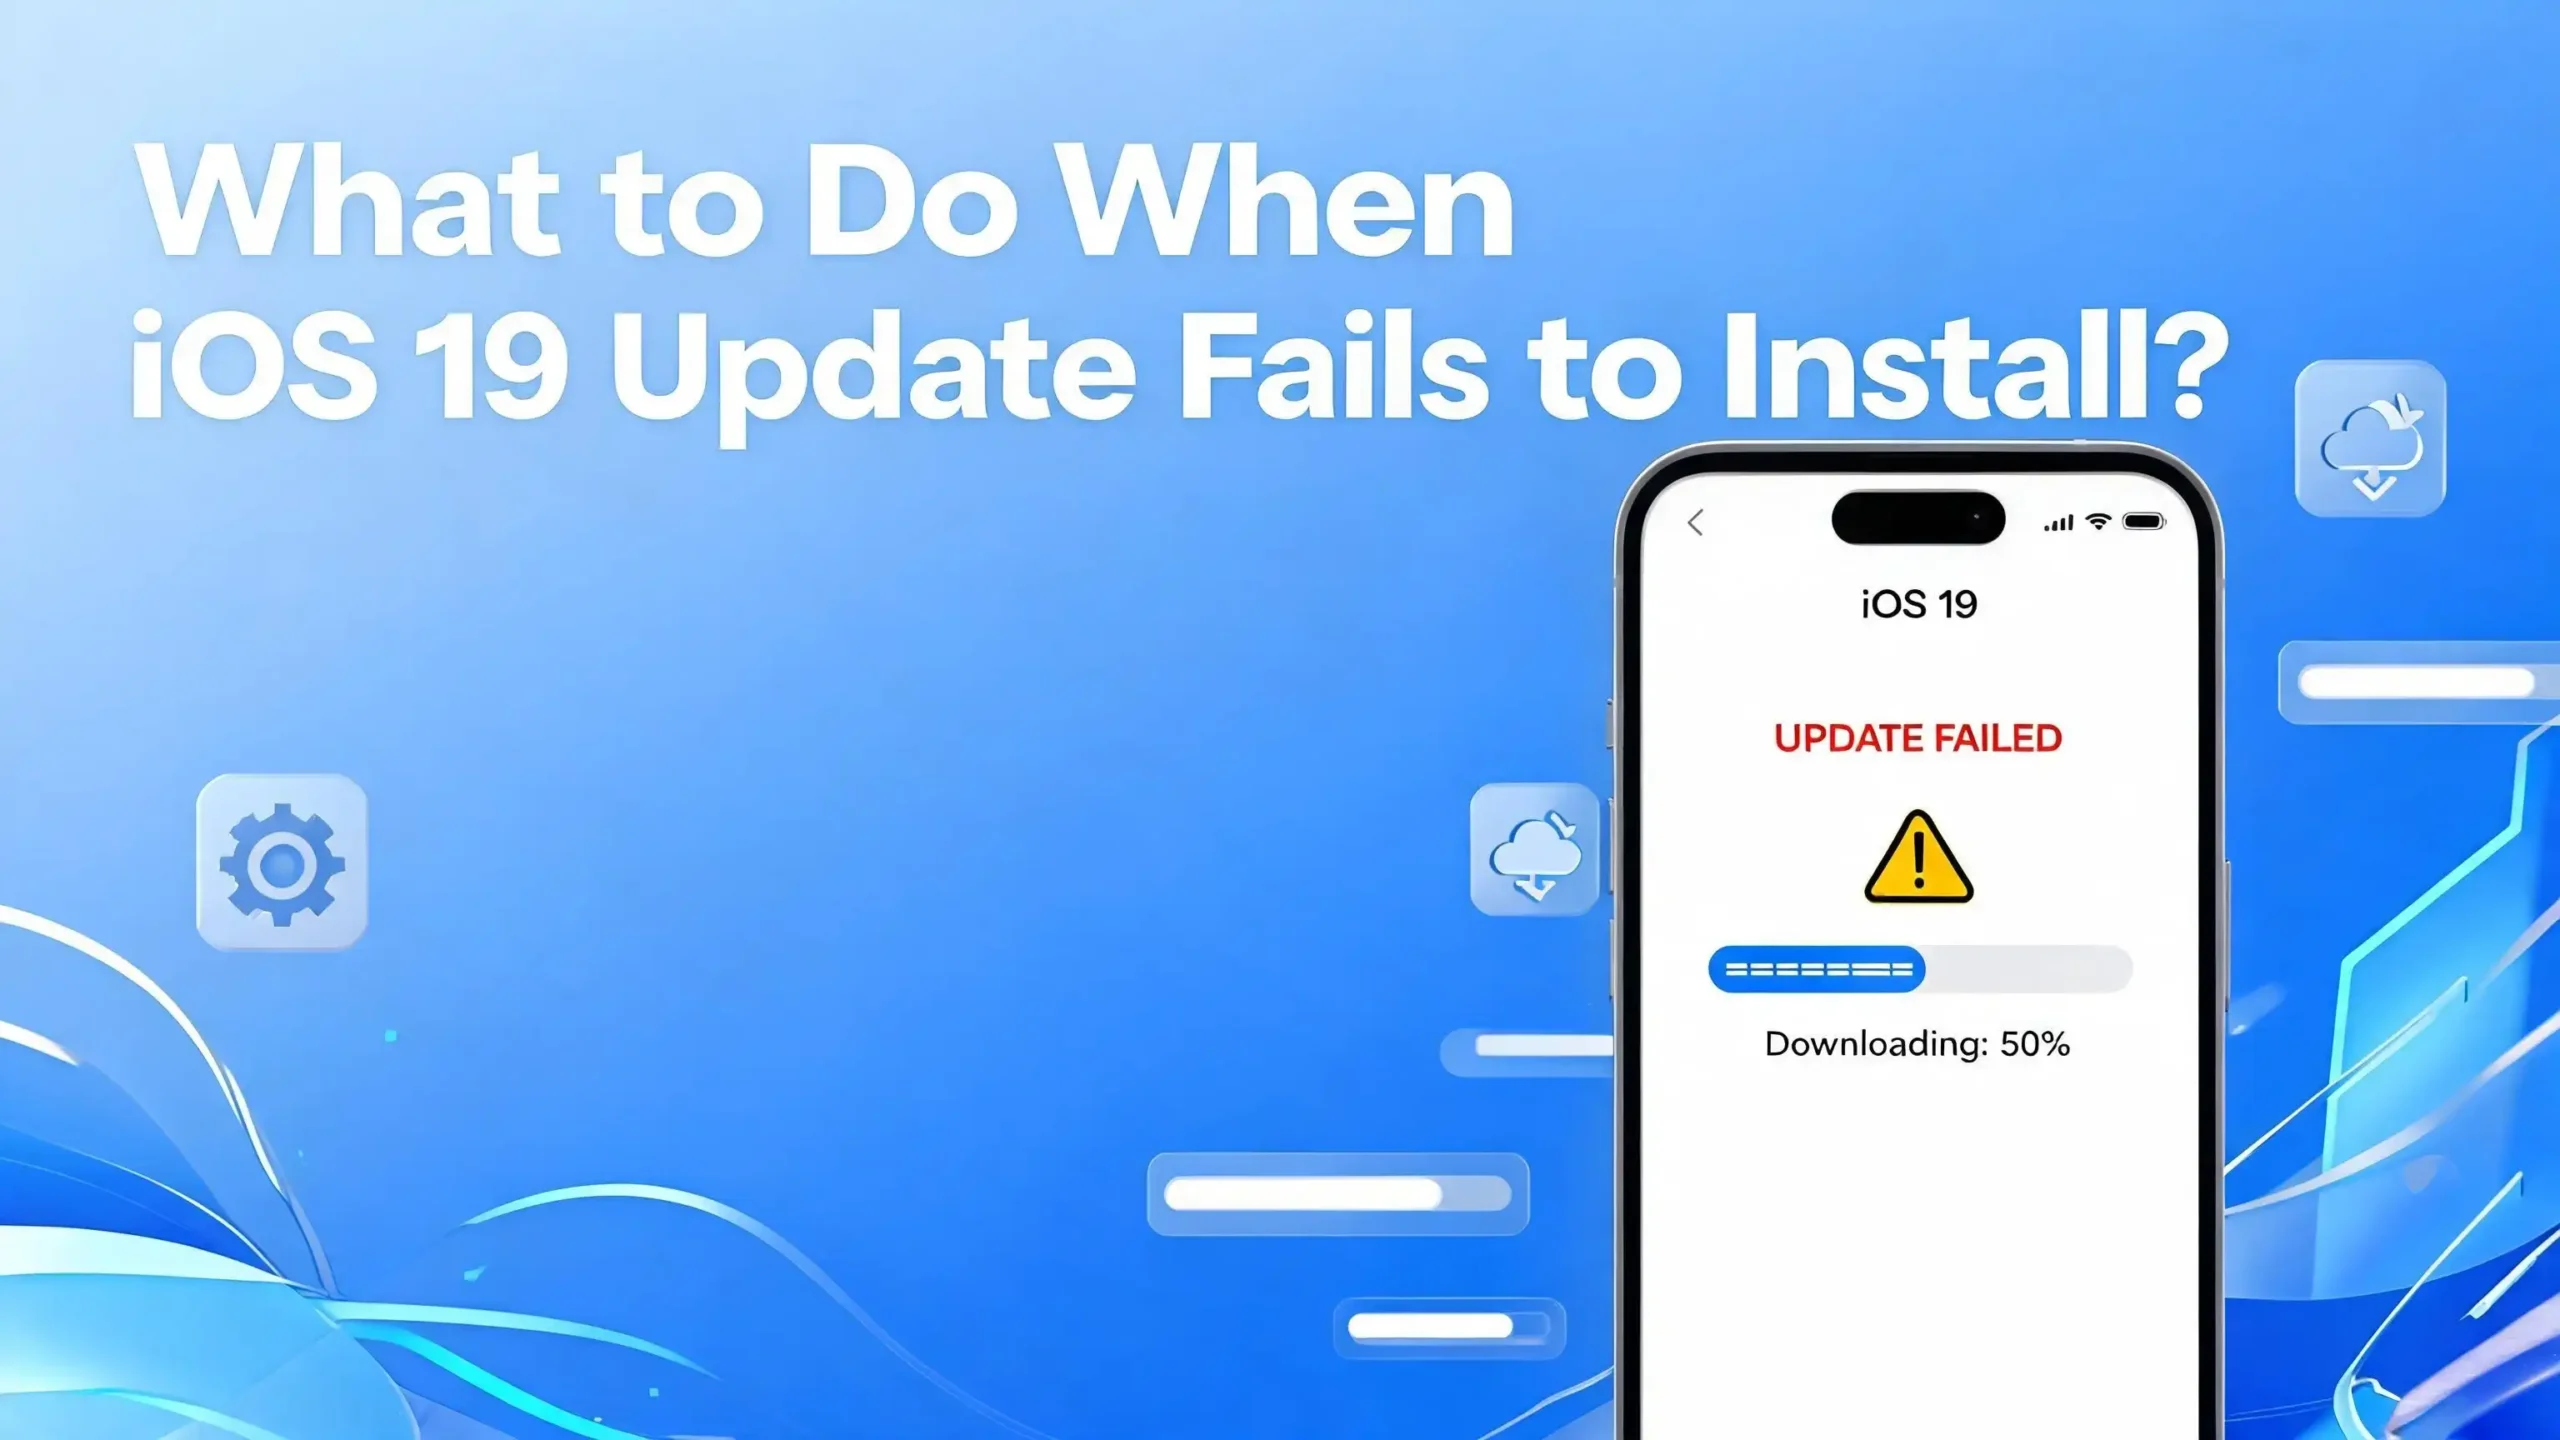
What to Do When iOS 19 Update Fails to Install?
If your iOS 19 update (Apple has officially rebranded this release as iOS 26) failed to install, you are not alone. Millions of iPhone users run into this issue every year when a major iOS version drops.
The good news is that most update failures are caused by simple, fixable problems. You do not need to visit an Apple Store or spend money on a repair.
This guide walks you through every possible reason your update failed and gives you clear, step-by-step solutions to get your iPhone updated fast.
Keep reading — by the end of this guide, your iPhone will be running the latest iOS version.
Key Takeaways
- Check your storage first. iOS 19 (iOS 26) requires at least 2 to 3 GB of free space to download and install. If your iPhone has insufficient storage, the update will fail before it even starts.
- Your internet connection matters more than you think. A weak or unstable Wi-Fi connection is one of the most common reasons an iOS update fails silently. Always use a strong, reliable Wi-Fi network during the update process.
- Apple’s servers sometimes go down. When millions of users update at the same time, Apple’s update servers can experience delays or outages. Checking Apple’s System Status page at apple.com/support/systemstatus takes just 10 seconds and can save you hours of troubleshooting.
- Deleting the failed update file and restarting the download often works. A corrupted download is a frequent culprit. Removing the failed update file from your iPhone’s storage and downloading it fresh fixes the problem in many cases.
- iTunes or Finder on a Mac is your backup plan. If over-the-air (OTA) updates keep failing, connecting your iPhone to a computer and updating through iTunes or Finder almost always gets the job done.
- Recovery Mode is the last resort. If nothing else works, putting your iPhone into Recovery Mode and restoring it through a computer is the ultimate fix. It is not as scary as it sounds, and this guide explains it step by step.
Why Does the iOS 19 Update Fail to Install?
Before jumping into fixes, it helps to understand why iOS updates fail. Understanding the cause makes the solution much easier to find.
Apple’s iOS updates are large files. iOS 19 (iOS 26) is no exception, as it packs major design changes, new features, and security patches. Several things can go wrong during the download, verification, or installation phase.
The most common causes of a failed iOS update include:
- Not enough free storage space on the device to hold the update file
- A weak, slow, or interrupted Wi-Fi connection during the download
- Apple’s update servers being overloaded, especially in the first few days after a major release
- A corrupted or incomplete download file sitting on the device
- The iPhone battery level being too low to start the installation
- An incompatible device trying to install a version of iOS it cannot support
- VPN or firewall settings blocking the connection to Apple’s servers
- A software glitch that prevents the update from launching correctly
Each of these problems has a specific fix. The sections below address every one of them in detail.
Check If Your iPhone Is Compatible with iOS 19 (iOS 26)
The very first thing you should confirm is whether your iPhone actually supports iOS 19 (iOS 26). Apple does not allow older devices to install newer iOS versions, and trying to force an incompatible update will always fail.
According to Apple, iOS 26 (the official name for what many called iOS 19) is compatible with the iPhone XR, iPhone XS, iPhone XS Max, iPhone SE (2nd generation and later), and all iPhone 11, 12, 13, 14, 15, 16, and 17 models. If your device is older than the iPhone XR, it simply cannot run iOS 19 / iOS 26, and no troubleshooting step will change that.
To check your iPhone model, go to Settings > General > About and look at the “Model Name” field. Then visit apple.com/os/ios/ to cross-reference your model against the official supported devices list.
If your device is not on the compatibility list, stop trying to install the update. Apple intentionally limits support for older hardware to maintain performance and security standards. Your best path forward is to consider upgrading your iPhone if you want access to the latest iOS features.
If your device is compatible but the update still fails, the problem lies elsewhere, and the remaining sections of this guide will help you fix it.
Free Up Storage Space on Your iPhone
Storage is one of the biggest barriers to a successful iOS update. iOS 19 requires roughly 2 to 3 GB of free space just to download the update file. Then it needs additional temporary space to extract and install the update. If your iPhone is running low on storage, the update will fail every single time.
Here is how to check and free up your storage:
Go to Settings > General > iPhone Storage. You will see a color-coded bar showing exactly how your storage is being used. If your available space is less than 3 GB, you need to clear some room before trying to update again.
The fastest ways to free up space include:
- Offloading unused apps: Go to Settings > General > iPhone Storage > Enable Offload Unused Apps. This removes apps you rarely use while keeping their data intact. You can reinstall them anytime.
- Deleting large apps manually: In the iPhone Storage screen, apps are listed by size. Tap any large app you no longer need and select “Delete App.”
- Clearing photo and video clutter: Move photos and videos to iCloud or a computer and delete them from your iPhone. Large video files eat storage fast.
- Clearing browser cache: In Safari, go to Settings > Safari > Clear History and Website Data.
- Removing old podcasts and downloaded music: Open the Podcasts or Music app and delete offline content you have already listened to.
After freeing up space, restart your iPhone and try the update again. Most users who free up 4 to 5 GB of space find that the update installs without any further issues.
Check Your Wi-Fi Connection Before Updating
A weak or unstable internet connection causes many iOS update failures that people never trace back to Wi-Fi. The update file for iOS 19 can be between 500 MB and over 1.5 GB, depending on your current iOS version. If your connection drops even briefly during the download, the file can become corrupted and the update will fail.
Here is how to ensure a solid connection before updating:
Move your iPhone closer to your Wi-Fi router. Distance and walls significantly reduce signal strength. If possible, stand in the same room as the router while downloading the update.
Go to Settings > Wi-Fi and confirm your device is connected to your home or a trusted network. Make sure it shows a strong signal (full bars or close to it). Avoid updating over public Wi-Fi in cafes or airports, as these networks are often unstable and slow.
Turn off other devices using the same Wi-Fi network during the update. Streaming video on a smart TV, running game downloads on a console, or having multiple people use the same connection can all slow down your bandwidth enough to cause the update to fail.
You can also try a simple reset of your Wi-Fi connection: Go to Settings > Wi-Fi, toggle it off, wait 10 seconds, and toggle it back on. Reconnect to your network and try the update again.
If your home Wi-Fi is unreliable, try using a mobile hotspot from another device as a temporary workaround. Just keep in mind that iOS requires a Wi-Fi connection, not cellular data, for large OTA updates.
Check Apple’s Server Status
People often overlook this step, but it is one of the easiest and most important checks you can make. When Apple releases a major iOS update like iOS 19, millions of users try to download it simultaneously. This surge in traffic can overload Apple’s update servers, leading to failed downloads and vague error messages on your iPhone.
Apple provides a real-time server status page at apple.com/support/systemstatus/. Visit this page on your computer or another device. Look for “iOS Software Updates” or “Software Update” in the list. If it shows a yellow or red indicator, Apple’s servers are experiencing issues. In this case, wait a few hours and try again.
Signs that the failure is server-related include:
- You see “Unable to Check for Update” even though your Wi-Fi is working fine
- The download starts but stalls at a low percentage
- You receive error codes like 3014, 3194, or 3200
These error codes often mean your iPhone could not reach Apple’s servers. The fix is to wait for Apple to resolve the issue on their end, then try again.
Trying to update during off-peak hours, such as early in the morning or late at night, significantly increases your chances of a smooth download. Server load is much lower during these times, especially in the first week after a new iOS version launches.
Restart Your iPhone Before Updating
This step sounds simple, but it genuinely fixes a surprising number of update failures. A restart clears your iPhone’s temporary memory, closes background processes, and gives the update a clean environment to run in.
Here is how to restart different iPhone models:
For iPhone X and later (including all iPhone 11, 12, 13, 14, 15, 16, and 17 models): Press and hold the side button and either volume button at the same time until the power slider appears. Drag the slider to turn off the phone. After the screen goes black, press and hold the side button again until the Apple logo appears.
For iPhone SE (2nd and 3rd generation): Press and hold the side button until the power slider appears. Drag it to shut off the phone, then press and hold the side button again to restart.
After the restart, go immediately to Settings > General > Software Update and try the update again. Do not open other apps first, as keeping background activity low during the update helps it succeed.
A force restart is different from a regular restart and can help if your phone feels slow or unresponsive. For iPhone 8 and later, quickly press and release the Volume Up button, quickly press and release the Volume Down button, then press and hold the Side button until the Apple logo appears. This method does not delete any data.
Delete the Failed Update File and Re-Download It
If your iPhone started downloading the iOS 19 update but the installation failed, there is likely a corrupted or incomplete update file sitting on your device. This failed file will cause every subsequent update attempt to fail too, because your iPhone will keep trying to use the broken file instead of downloading a fresh one.
Here is exactly how to delete the failed update file:
Go to Settings > General > iPhone Storage. Scroll through the list of apps until you find an entry labeled “iOS 19” or “iOS 26” or simply “Software Update.” Tap on it. You will see a “Delete Update” option. Tap it and confirm the deletion.
Once the file is gone, restart your iPhone. Then go back to Settings > General > Software Update. Your iPhone will now check for the update fresh and begin a clean download from Apple’s servers. This clean re-download approach resolves the problem for a large percentage of users who experience repeated update failures.
Make sure you are connected to a strong Wi-Fi network and that your iPhone is plugged into a charger before starting the fresh download. This combination of stable power and stable internet gives the update the best possible conditions to complete successfully.
Make Sure Your iPhone Has Enough Battery
Apple requires your iPhone to have at least 50% battery charge before it will allow the iOS update to install. If your battery drops below this threshold, the installation will stop, which can occasionally leave your device in a partially updated state.
Always plug your iPhone into a charger before starting an iOS update. This is not just about meeting the 50% requirement. It is about ensuring your device has consistent, uninterrupted power throughout the entire installation process, which can take anywhere from 15 minutes to over an hour depending on your iPhone model and the update size.
Do not rely solely on battery power, even if you are at 80% or 90%. Charge cables can come loose, and some installation steps are power-intensive. A sudden drop in battery during a critical installation phase can corrupt your iOS and create much bigger problems than a failed update.
The safest approach is to plug your iPhone into a wall charger (not a computer USB port, which delivers less power) and leave it connected for the entire update process. Leave your phone alone during the installation. Do not use it, and do not unplug it until the update is complete and your phone has restarted.
Reset Network Settings to Fix Connection Errors
If your iPhone consistently fails to connect to Apple’s update servers, the problem might lie in your network configuration. Resetting your network settings clears all saved Wi-Fi passwords, VPN configurations, and cellular settings, and gives your iPhone a fresh networking state.
Here is how to reset network settings:
Go to Settings > General > Transfer or Reset iPhone > Reset > Reset Network Settings. You will be asked to enter your passcode. Confirm the reset. Your iPhone will restart automatically.
After the restart, reconnect to your Wi-Fi network (you will need to re-enter the password). Then go to Settings > General > Software Update and try the update again.
This fix is especially useful if:
- You have a VPN installed on your iPhone that may be routing traffic through a different server and blocking Apple’s update servers
- You recently changed your home router or internet provider
- You see error messages about not being able to reach Apple’s servers even though other apps work fine
Be aware that resetting network settings will delete all saved Wi-Fi passwords on your device. Have your Wi-Fi passwords ready before performing this step. It does not delete your photos, apps, contacts, or any other personal data.
Update iOS Using iTunes or Finder on a Computer
If every over-the-air update attempt has failed, it is time to bypass the wireless update process entirely. Updating through a computer using iTunes (on Windows) or Finder (on Mac with macOS Catalina or later) is far more reliable because it downloads the full iOS firmware file directly to your computer and installs it via a wired connection.
Here is how to update using Finder on a Mac:
- Connect your iPhone to your Mac using a Lightning or USB-C cable.
- Open Finder. Your iPhone will appear in the left sidebar under “Locations.”
- Click on your iPhone’s name.
- Click “General” at the top of the window.
- Click “Check for Update.”
- Click “Download and Update.”
- Enter your iPhone passcode if prompted, and follow the on-screen instructions.
Here is how to update using iTunes on a Windows PC:
- Make sure you have the latest version of iTunes installed.
- Connect your iPhone using a USB cable.
- Open iTunes and click on the iPhone icon near the top-left.
- Click “Summary,” then click “Check for Update.”
- Click “Download and Update” and follow the prompts.
Wired updates are almost always faster and more stable than wireless ones. The full firmware file is downloaded to your computer’s larger storage, and the installation happens over a direct connection rather than Wi-Fi. If OTA keeps failing, this method will almost certainly succeed.
Put Your iPhone in Recovery Mode (Advanced Fix)
Recovery Mode is a special diagnostic state that allows you to restore or update your iPhone through a computer even when the software is severely damaged. This step is for situations where your iPhone is stuck on the Apple logo, frozen on the update screen, or completely unresponsive after a failed update.
How to enter Recovery Mode varies by iPhone model:
iPhone 8 and later (including all iPhone X, 11, 12, 13, 14, 15, 16, 17 models):
- Quickly press and release the Volume Up button.
- Quickly press and release the Volume Down button.
- Press and hold the Side button.
- Keep holding even after the screen goes black and the “slide to power off” slider appears.
- Release when you see the Recovery Mode screen (an image of a cable pointing to a laptop).
iPhone 7 and 7 Plus:
Press and hold both the Volume Down button and the Sleep/Wake button simultaneously until the Recovery Mode screen appears.
Once your iPhone is in Recovery Mode, open iTunes or Finder on your computer. You will see a message saying your computer has detected an iPhone in Recovery Mode and asking if you want to Update or Restore. Choose “Update” first, as this preserves your data while reinstalling iOS. Only choose “Restore” if “Update” fails, as restoring will erase your iPhone.
Recovery Mode is a powerful fix, but it should only be used when simpler methods have not worked. It is not dangerous as long as you choose “Update” rather than “Restore.”
Check and Disable VPN Before Updating
A VPN (Virtual Private Network) on your iPhone can silently block the connection to Apple’s update servers. Many users do not realize their VPN is interfering with the update process because all other apps appear to work normally.
To check if a VPN is active on your iPhone, go to Settings > General > VPN & Device Management > VPN. If any VPN shows a “Connected” status, toggle it off before attempting the update.
You should also check whether you have any VPN apps installed, such as NordVPN, ExpressVPN, or any built-in VPN provided by a work or school profile. These apps sometimes run in the background even when you think they are off.
After disabling the VPN, go to Settings > General > Software Update and try again. In most cases, turning off the VPN immediately resolves the “Unable to Check for Update” error.
If your VPN was installed as part of a configuration profile (common with school or work iPhones), you may need to temporarily remove the profile. Go to Settings > General > VPN & Device Management and look for any installed profiles. Tap the profile and select “Remove Management.” You can reinstall the profile after completing the iOS update.
Use Low Power Mode OFF and Adequate Charging Conditions
Many users accidentally try to update their iPhone while Low Power Mode is turned on. Low Power Mode limits background activity and can prevent iOS updates from downloading or installing correctly.
To check if Low Power Mode is active, look for a yellow battery icon in the top-right corner of your screen. If you see it, go to Settings > Battery > Low Power Mode and toggle it off. Your battery icon will return to its normal color.
Also, avoid updating while your iPhone is connected to a computer’s USB port for power. USB ports on computers deliver lower wattage than wall chargers, and this slower charging can occasionally interfere with the update process on some models.
The ideal conditions for an iOS update are:
- iPhone plugged into a wall outlet using Apple’s official charger
- Low Power Mode turned off
- Wi-Fi connected to a strong, stable network
- Battery level at 50% or above (or actively charging)
- At least 3 to 4 GB of free storage available
Meeting all five of these conditions gives your iPhone the best possible environment to complete the iOS 19 update without interruption.
Contact Apple Support If Nothing Works
If you have tried every step in this guide and the iOS 19 update still refuses to install, it is time to reach out to Apple directly. Apple Support can diagnose deeper hardware or software issues that cannot be resolved through standard troubleshooting.
You can contact Apple Support at support.apple.com or through the Apple Support app on your iPhone (if it is still functional). You can choose from chat support, a phone callback, or in-person help at an Apple Store or Apple Authorized Service Provider.
When you contact Apple Support, have the following information ready to speed up the process:
- Your iPhone model (found in Settings > General > About > Model Name)
- Your current iOS version (found in Settings > General > About > Software Version)
- The exact error message or error code you are seeing
- A list of the fixes you have already tried
In rare cases, a failed iOS update can be caused by a hardware problem such as a failing flash storage chip. Apple technicians have the tools to diagnose this and can advise you on whether a repair or replacement is needed.
Also consider backing up your iPhone to iCloud before visiting the Apple Store. Go to Settings > [Your Name] > iCloud > iCloud Backup > Back Up Now. This protects your data in case Apple needs to restore your device during the repair.
Back Up Your iPhone Before Every Major Update
This section is not a fix for a failed update, but it is the most important advice in this entire guide. Always back up your iPhone before installing a major iOS update. If an update fails catastrophically and corrupts your data, a recent backup is the only thing standing between you and a complete loss of photos, messages, app data, and settings.
You have two backup options:
iCloud Backup: Go to Settings > [Your Name] > iCloud > iCloud Backup > Back Up Now. Make sure you are connected to Wi-Fi and have enough iCloud storage. The free iCloud tier provides 5 GB, which may not be enough for a full backup. Consider upgrading to 50 GB for about $0.99 per month if needed.
Computer Backup (iTunes or Finder): Connect your iPhone to your computer. Open Finder (Mac) or iTunes (Windows). Click on your device. Under “Backups,” select “This Computer” and click “Back Up Now.” This creates a full local backup on your computer for free, with no storage limits.
Computer backups are generally more complete than iCloud backups because they can include data that iCloud does not sync, such as Health data (when encrypted), app data from apps that do not support iCloud, and certain system settings.
Make it a habit to back up your iPhone before any iOS update, major app updates, or any significant change to your device. It takes just a few minutes and can save hours of frustration if something goes wrong.
Frequently Asked Questions
Why does my iOS 19 update keep failing?
The most common reasons an iOS 19 (iOS 26) update keeps failing are insufficient storage space, a weak or interrupted Wi-Fi connection, and a corrupted download file. Start by freeing up at least 3 to 4 GB of storage, then delete the failed update file from Settings > General > iPhone Storage, and try downloading the update fresh on a strong Wi-Fi connection.
How much storage do I need to install iOS 19?
You generally need at least 2 to 3 GB of free storage on your iPhone to download and install the iOS 19 update. However, having 4 to 5 GB free is recommended to give the installation process enough working space. Check your available storage in Settings > General > iPhone Storage.
Can I update to iOS 19 using cellular data?
Apple requires a Wi-Fi connection for large iOS updates over-the-air. You cannot use cellular data for the standard OTA update. However, if you update through iTunes or Finder on a computer, the firmware downloads to your computer, and the installation happens over a wired connection without any Wi-Fi requirement on your iPhone.
What does “Unable to Check for Update” mean on my iPhone?
This error means your iPhone cannot reach Apple’s update servers. It is usually caused by a weak Wi-Fi connection, a VPN blocking the connection, or Apple’s servers being temporarily down. Check your Wi-Fi signal, disable any active VPN, and visit apple.com/support/systemstatus/ to see if Apple’s update servers are online.
Is it safe to put my iPhone in Recovery Mode?
Yes, Recovery Mode is a safe diagnostic tool built into your iPhone. As long as you choose “Update” (not “Restore”) when prompted by iTunes or Finder, Recovery Mode will reinstall iOS without deleting your personal data. Choosing “Restore” will erase your iPhone, so only do that as an absolute last resort and make sure you have a backup first.
What should I do if my iPhone is stuck on the Apple logo after a failed update?
If your iPhone is stuck on the Apple logo after a failed update, try a force restart first. For iPhone 8 and later, quickly press Volume Up, quickly press Volume Down, then press and hold the Side button until the Apple logo disappears and reappears. If the phone is still stuck, connect it to a computer and put it in Recovery Mode to complete the update using iTunes or Finder.
Will I lose my data if the iOS 19 update fails?
In most cases, a failed update does not erase your data. The update process is designed to be reversible until the final stages. However, if your iPhone gets stuck mid-installation or requires a full restore through Recovery Mode, there is a risk of data loss. This is why backing up your iPhone before every update is so important.
How long does it take to install iOS 19?
The download time depends on your internet speed and the update size (usually 500 MB to 1.5 GB). The installation itself typically takes 15 to 45 minutes on most modern iPhones. Older models like the iPhone XR or iPhone SE may take a bit longer. Your iPhone will restart one or more times during the process.
Hi, I’m Suzy — the voice behind RapidGenLab. I’m a tech enthusiast who loves breaking down complex products into simple, honest reviews and comparisons. Got a question? Feel free to reach out!